OpenCloud on a Raspberry Pi
The installation of OpenCloud on a Raspberry Pi is intended for private or non-production use only.
It is not recommended for enterprise or critical environments due to the hardware's limited resources and potential performance constraints.
Hardware requirements
- Minimum Raspberry Pi 4B with at least 4 GB RAM connected via LAN or WLAN
- Micro SD card with at least 32 GB storage space
- External hard disk or USB stick (optional) for additional storage space
Install operating system
-
Install Raspberry Pi OS
A very detailed and understandable guide is available at:
Raspberry Pi Getting Started -
SSH must be activated
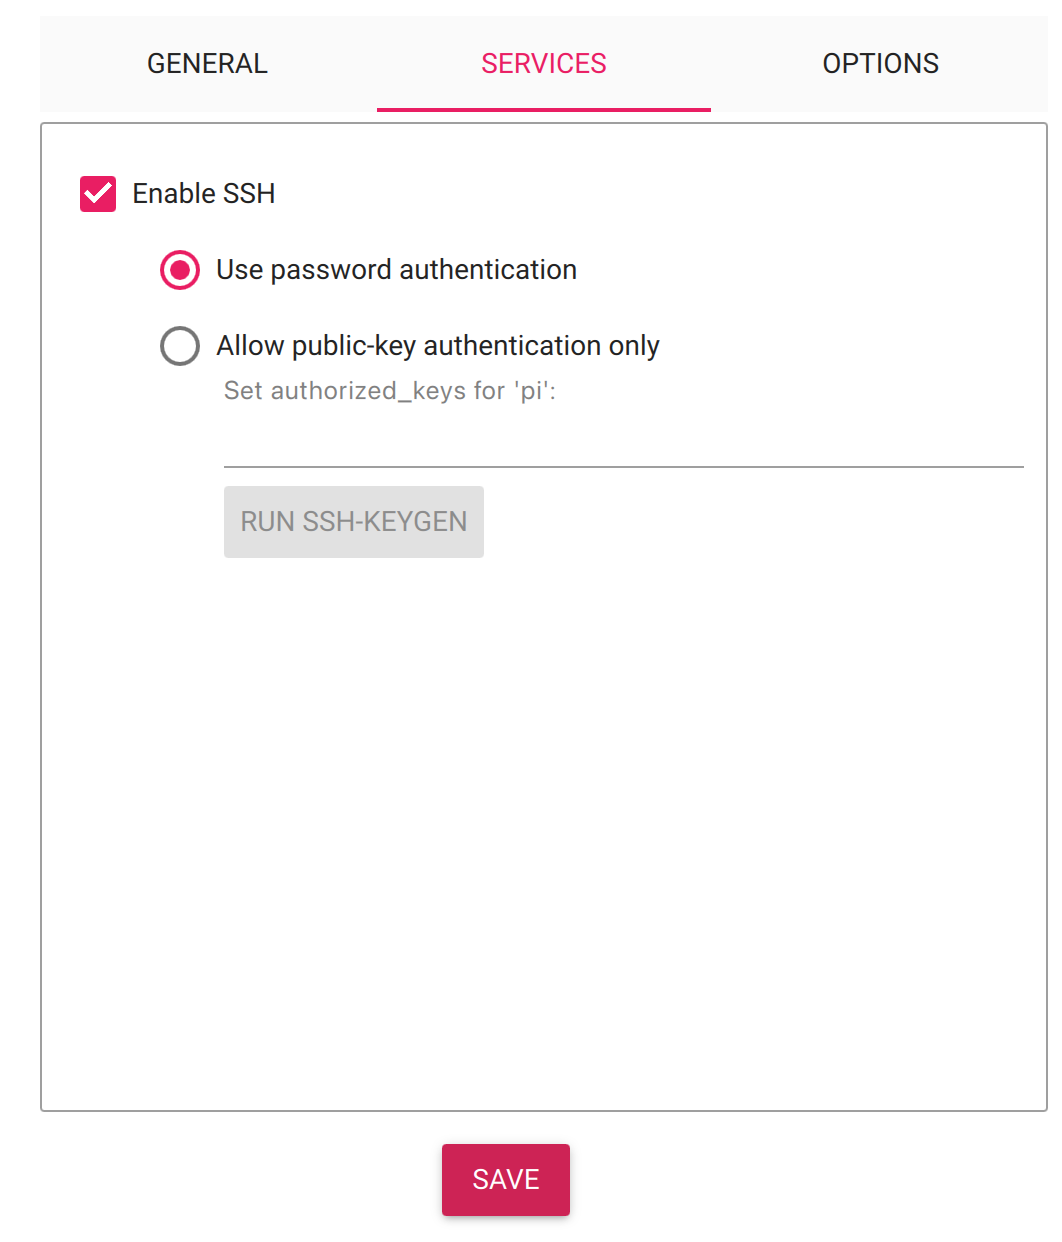
-
If the Raspberry Pi is to be connected to WLAN, the login data for the WLAN must be entered.
Connecting with SSH
Start the Raspberry Pi with the SD card and connect via SSH.
The IP for this can be viewed in your router.

Establish connection via SSH
ssh pi@YOUR-IP
After the first login, you should change the password for security reasons:
passwd
Installing Docker and Docker Compose
Detailed installation instructions for Docker can be found here:
Install Docker on Raspberry Pi
- Perform update and upgrade:
sudo apt update && sudo apt upgrade -y
- Install Docker via script:
curl -fsSL test.docker.com -o get-docker.sh && sh get-docker.sh
- Add current user to the Docker group:
sudo usermod -aG docker ${USER}
- Check if it's working:
groups ${USER}

- Reboot the Raspberry Pi:
sudo shutdown -r now
Clone OpenCloud repository
git clone https://github.com/opencloud-eu/opencloud-compose.git
Start the Docker Compose setup
cd opencloud-compose
Copy the .env.example file:
cp .env.example .env
Edit the .env file:
nano .env
Add the minimal OpenCloud setup:
COMPOSE_FILE=docker-compose.yml:traefik/opencloud.yml
Set your admin password
INITIAL_ADMIN_PASSWORD=YourSecurePassword
Then start Docker:
docker compose up
Now OpenCloud is running locally on your Raspberry Pi, and you can adjust it to your needs.
We will describe how to mount an external disk or USB stick and make OpenCloud available outside the local network using No-IP.
Mount external hard disk or USB stick
Find your external drive
lsblk
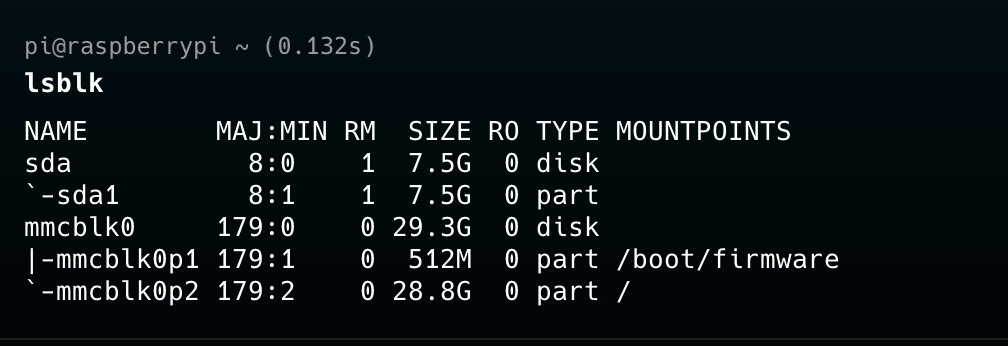
Format the drive to ext4
sudo mkfs.ext4 /dev/sda1 -L DATA
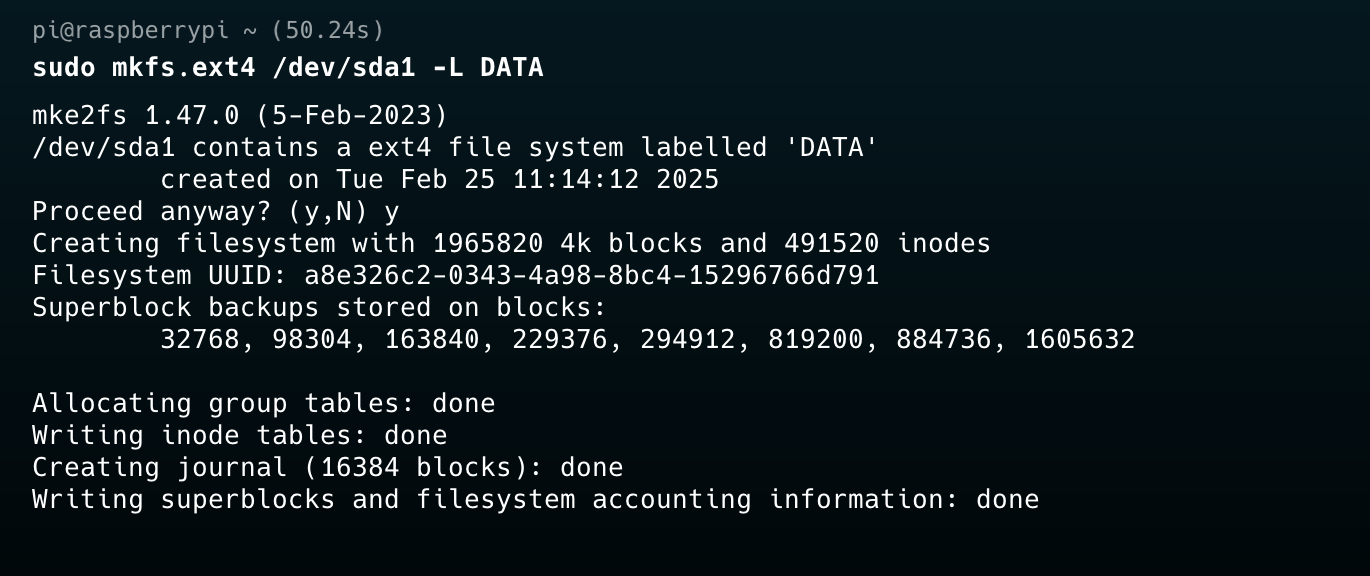
Add fstab entry for auto-mounting
Open fstab:
sudo nano /etc/fstab
Add this line:
LABEL=DATA /mnt/data ext4 auto,defaults 0 0
Create the mount point and set permissions
sudo mkdir -p /mnt/data
sudo chown -R 1000:1000 /mnt/data
Mount the drive
sudo mount -a
If an error occurs:

Run:
systemctl daemon-reload
And try mounting again.
Mount external storage in Docker
Stop Docker:
docker compose down
Open the .env file:
cd opencloud-compose
nano .env
Set the OC_DATA_DIR variable to your mounted storage path, e.g.:
OC_DATA_DIR=/mnt/data

Restart Docker:
docker compose up
Make OpenCloud externally available
Create DynDNS hostname
Register at No-IP and create a hostname, e.g. opencloud.webhop.me.
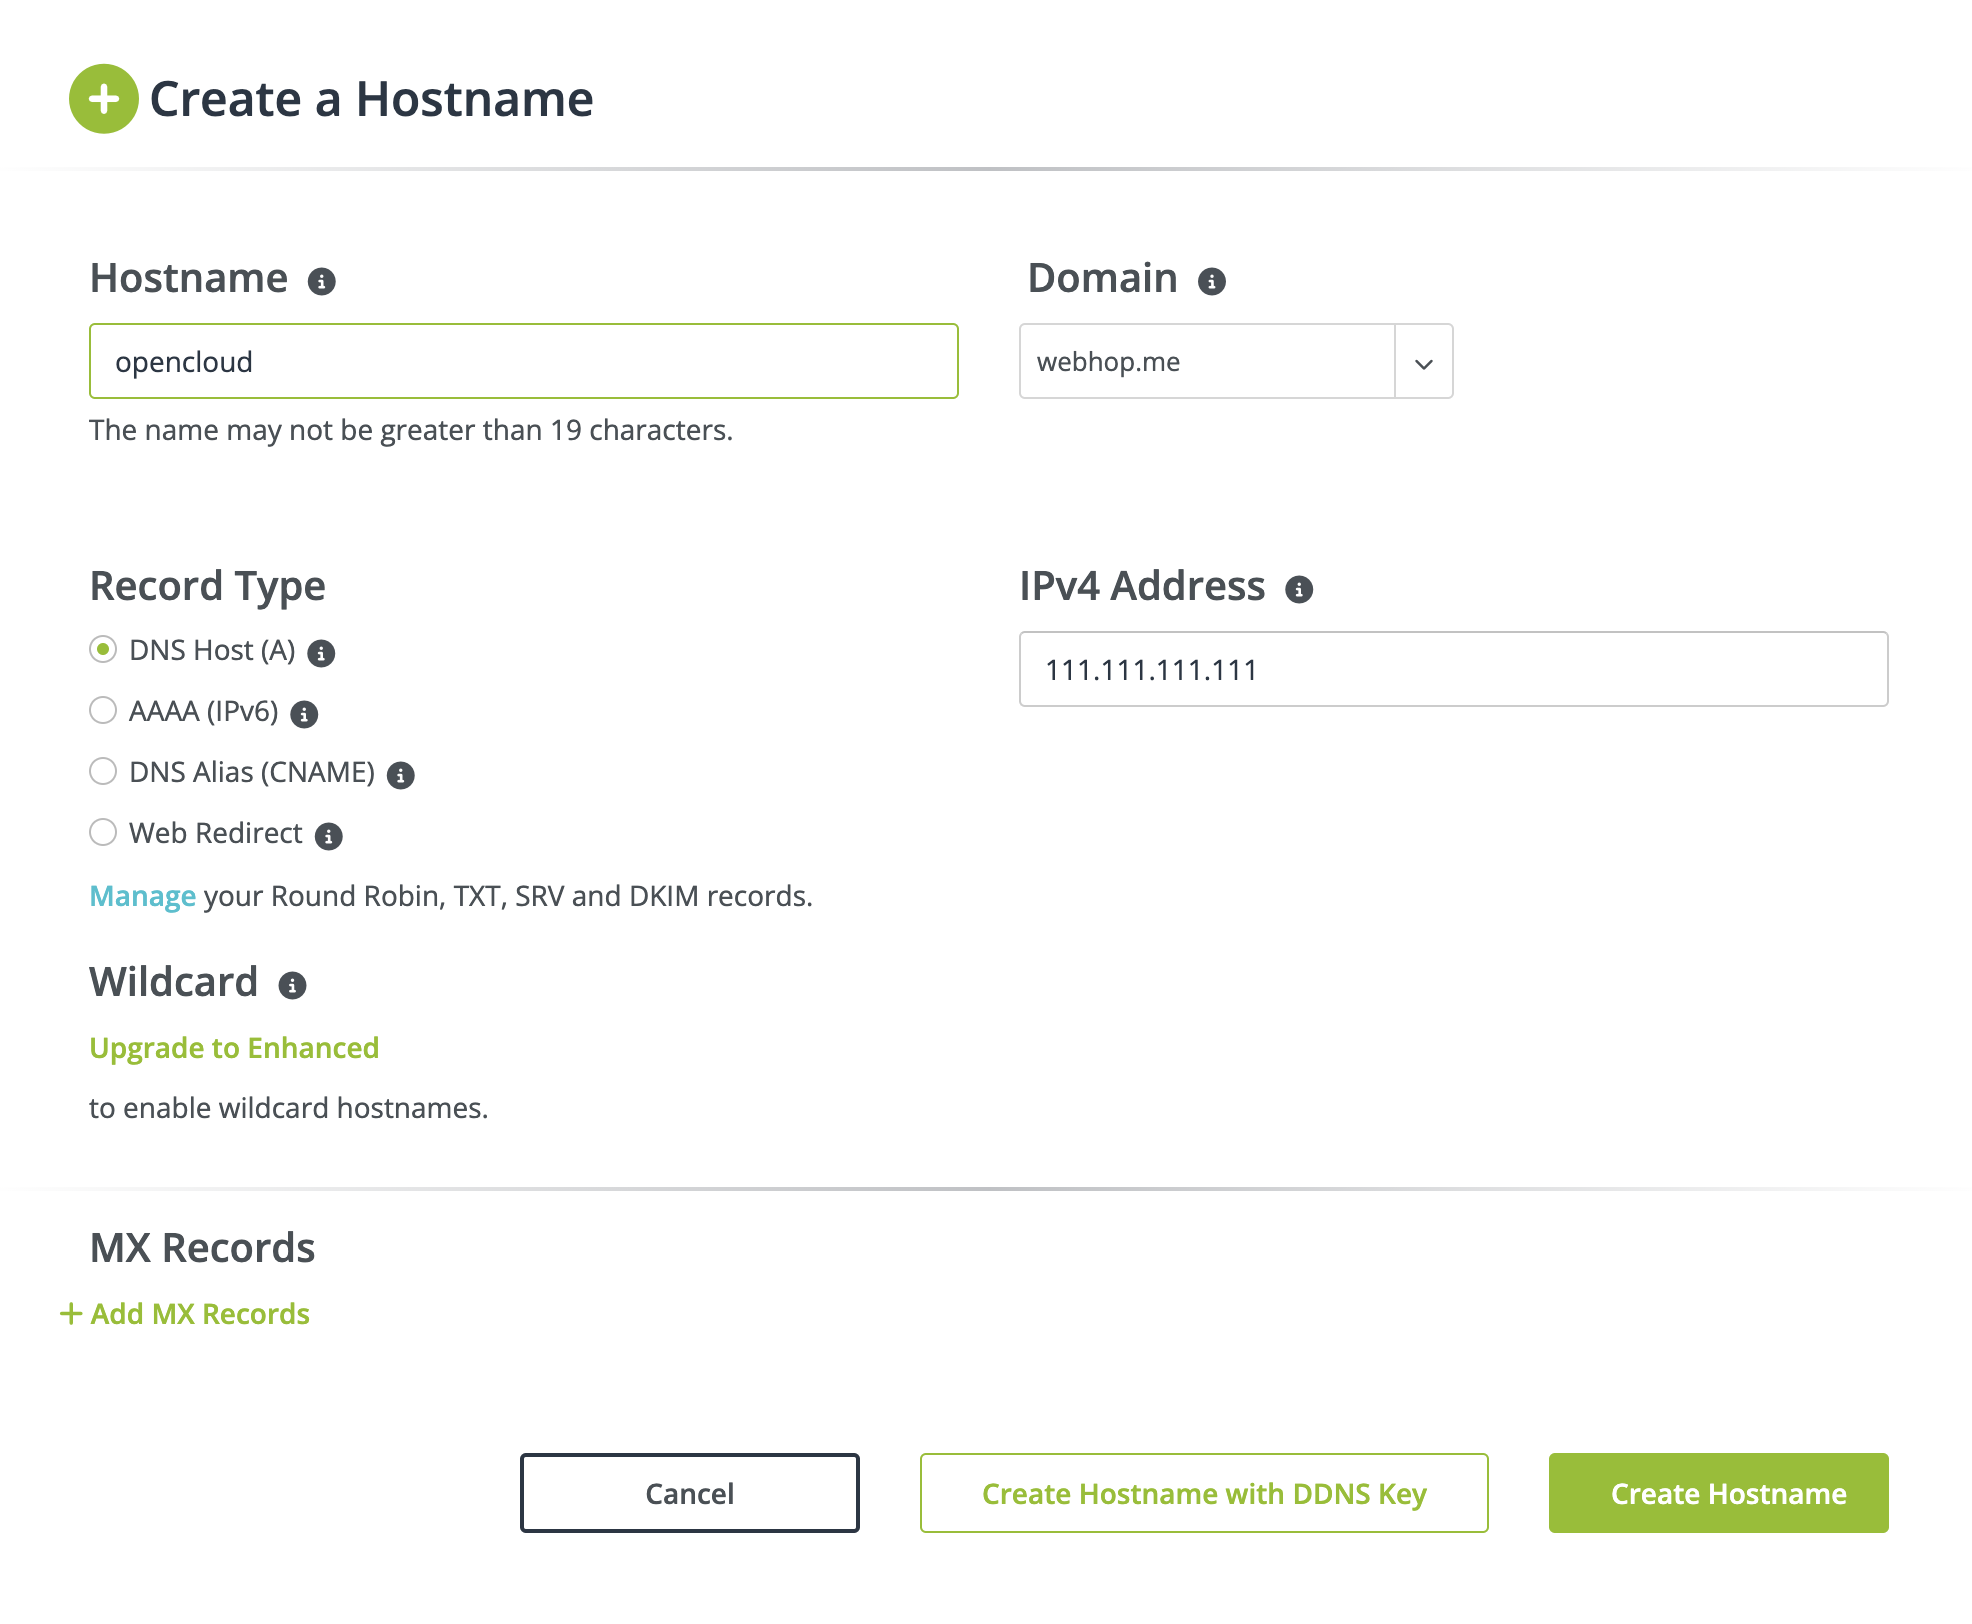
Configure DynDNS in your router
Use your router’s web interface to:
- Locate the Dynamic DNS settings
- Select No-IP as provider
- Enter your No-IP credentials
- Use the created hostname (e.g.
opencloud.webhop.me) - Save and test the settings
More help: No-IP Support
Configure port forwarding
-
Ensure your Raspberry Pi always has the same IP address:
- Either via static IP or DHCP assignment in the router
-
In your router settings, look for Port Forwarding, NAT, or Port Sharing
-
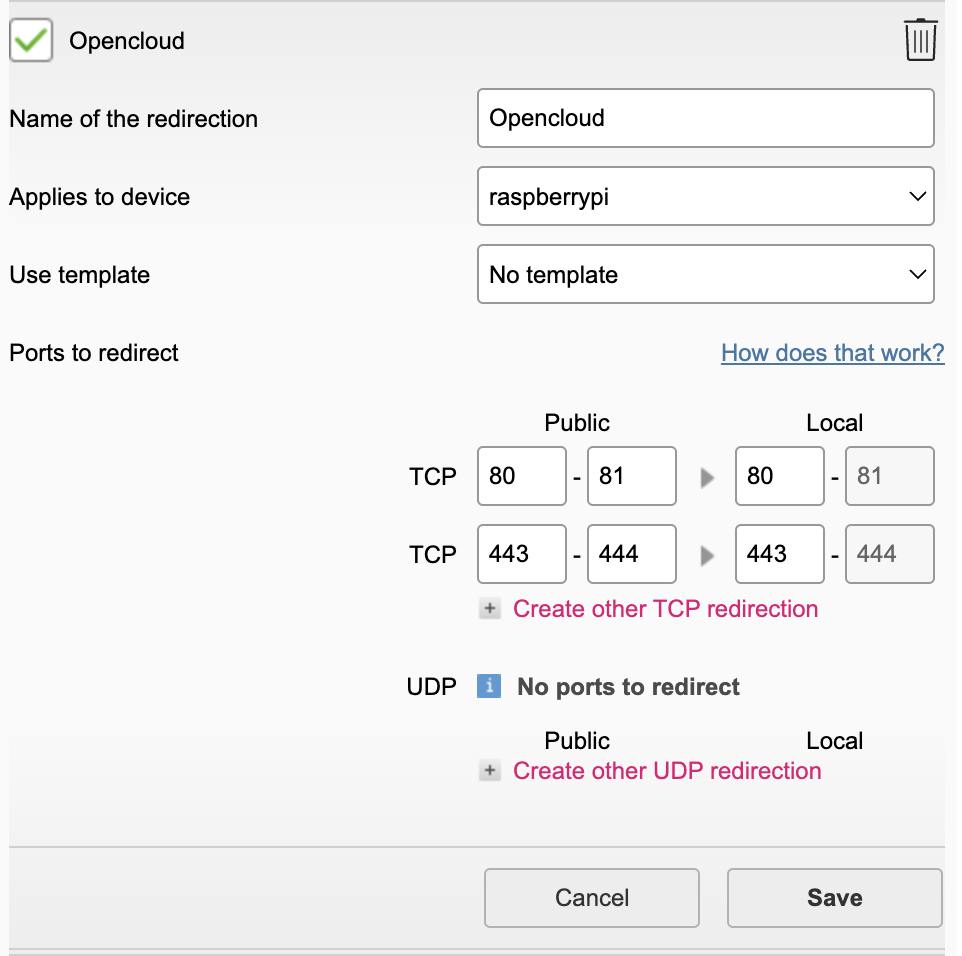
Forward the following ports to your Raspberry Pi:
- TCP Port 80 (HTTP)
- TCP Port 443 (HTTPS)
Update OC_DOMAIN
SSH into your Pi and update the domain:
cd opencloud-compose
docker compose down
nano .env
Edit the OC_DOMAIN value:
OC_DOMAIN=opencloud.webhop.me

Restart Docker:
docker compose up
Now your OpenCloud should be reachable via your URL.
