Bare-Metal
User Guide for Installing OpenCloud Bare-Metal
Follow the steps below to install and configure OpenCloud on your system.
This example is on Linux Ubuntu 24.04 distribution!
Bare-metal deployments are not officially supported by OpenCloud. They are great for quick evaluation but are undocumented and have a minimalist feature set. If you choose this setup, you are on your own. With great power comes great responsibility.
Install Git and clone the repository
-
Open a terminal.
-
Update your package list:
sudo apt update && apt upgrade -
Install Git using the following command:
sudo apt install git
-
Clone the OpenCloud repository:
git clone https://github.com/opencloud-eu/opencloud.git
Install the required packages
-
Download and install Go by following the official guide: 🔗go.dev/doc/install
-
Install npm (Node Package Manager):
sudo apt install npm -y
-
Install corepack globally:
sudo npm install -g corepack -
Enable
pnpmusing corepack:corepack enable pnpm
Build process and OpenCloud initialization
-
Navigate to the OpenCloud directory:
cd opencloud -
Run the build generate process:
make clean generate
make -C opencloud build -
Navigate into the opencloud subdirectory that was just built:
cd opencloud -
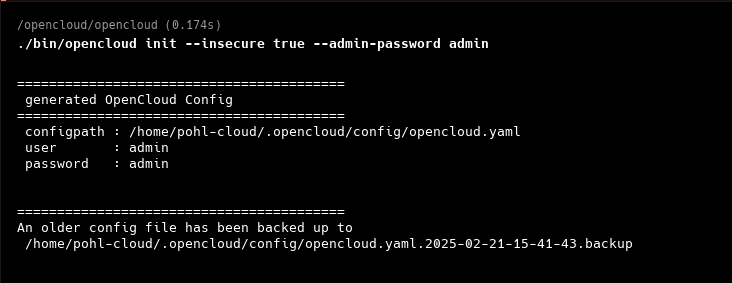
Initialize OpenCloud with insecure configuration and set an admin password:
./bin/opencloud init --insecure true --admin-password admin
-
Start the OpenCloud server:
./bin/opencloud server
Login
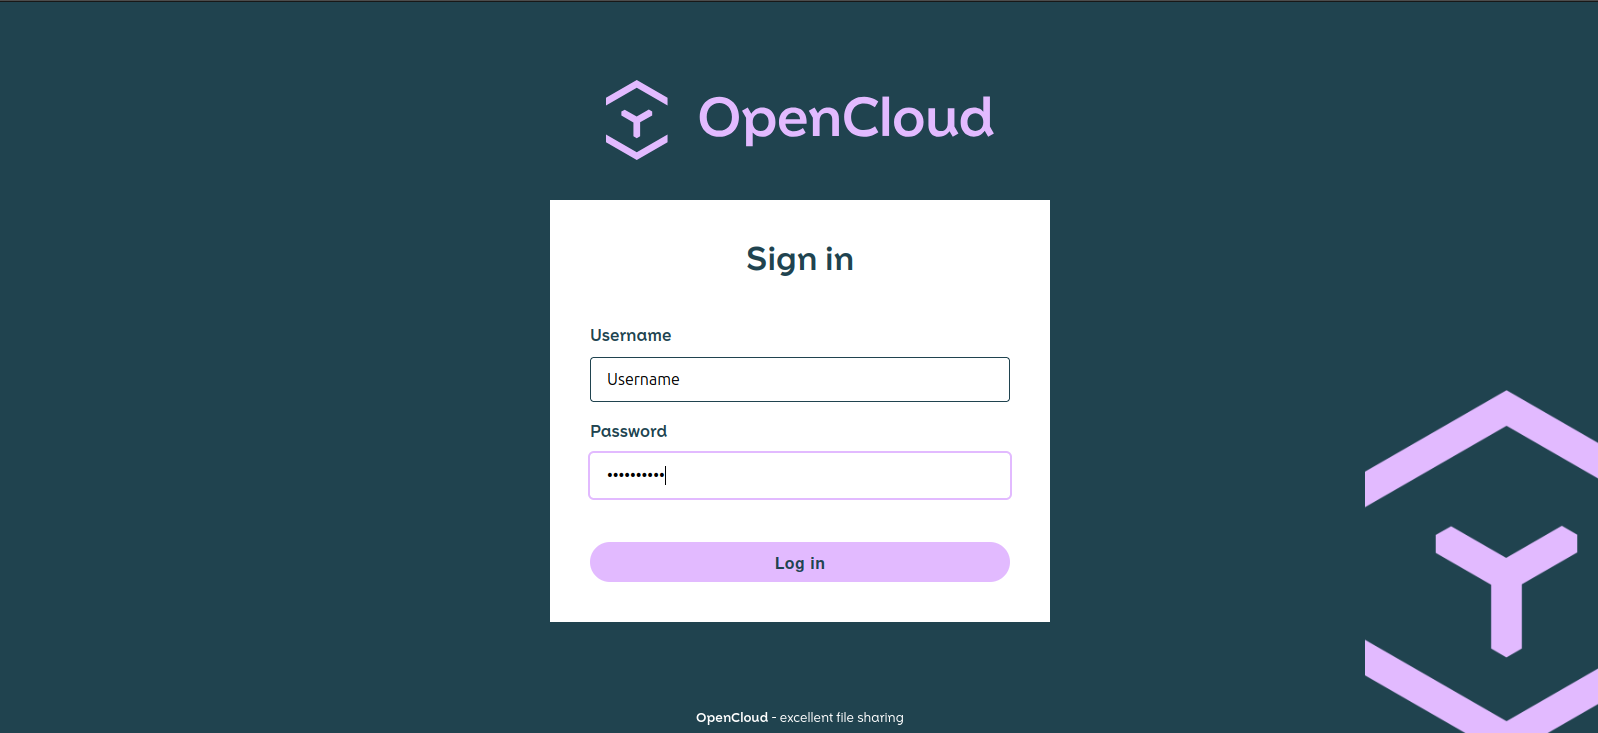
Login with your browser:
- https://localhost:9200
- user: admin
- password: admin

Conclusion
Your OpenCloud server is now running and ready to use 🚀
Troubleshooting
If you encounter any issues or errors, try finding a solution here