OpenCloud with Docker Compose + Integrated Traefik
Install an internet-facing OpenCloud instance with automatic SSL certificates using Docker Compose's integrated Traefik reverse proxy.
This is the recommended deployment path for most new OpenCloud installations. Traefik automatically manages Let's Encrypt SSL certificates, eliminating the need to manage a separate reverse proxy.
This installation guide is written for Ubuntu and Debian systems. The software can also be installed on other Linux distributions, but commands and package managers may differ.
If you already have an external reverse proxy (Nginx, HAProxy, etc.) or prefer to manage it separately, see Deploy Behind External Proxy instead.
Prerequisites
-
Four domains pointing to your server:
cloud.YOUR.DOMAIN→ OpenCloud frontendcollabora.YOUR.DOMAIN→ Collabora Online Servertraefik.YOUR.DOMAIN→ Traefik dashboard
Alternatively, you can use a wildcard domain (
*.YOUR.DOMAIN) -
A hosted server (e.g., Hetzner, AWS, or your own VPS) with Linux and SSH access
Connect to Your Server
Log into your server via SSH:
ssh root@YOUR.SERVER.IP
Install Docker
Update your system and install Docker.
First, perform an update and upgrade:
apt update && apt upgrade -y
Install Docker following the official Docker guide
Once Docker is installed, enable and start the service:
systemctl enable docker && systemctl start docker
Clone the OpenCloud Repository
Download the necessary configuration files:
git clone https://github.com/opencloud-eu/opencloud-compose.git
Configure the .env File for Staging Certificates
Before requesting real SSL certificates, it is recommended to test the setup using Let's Encrypt's staging environment.
Navigate to the OpenCloud configuration folder
cd opencloud-compose
Create environment file
cp .env.example .env
The repository includes .env.example as a template with default settings and documentation. Your actual .env file is excluded from version control (via .gitignore) to prevent accidentally committing sensitive information like passwords and domain-specific settings.
Modify these settings
Edit the .env file with the editor of your choice
In our example we use nano
nano .env
Disable insecure mode
# INSECURE=true
Set your domain names
TRAEFIK_DOMAIN=traefik.YOUR.DOMAIN
OC_DOMAIN=cloud.YOUR.DOMAIN
COLLABORA_DOMAIN=collabora.YOUR.DOMAIN
Set your admin password
INITIAL_ADMIN_PASSWORD=YourSecurePassword
Set your email for SSL certification
TRAEFIK_ACME_MAIL=your@email.com
Use Let's Encrypt staging certificates (for testing)
TRAEFIK_ACME_CASERVER=https://acme-staging-v02.api.letsencrypt.org/directory
Set the deployment option
Set the COMPOSE_FILE variable based on the components you want to deploy.
For an OpenCloud deployment without Collabora, use:
COMPOSE_FILE=docker-compose.yml:traefik/opencloud.yml
To deploy OpenCloud with Collabora, use:
COMPOSE_FILE=docker-compose.yml:weboffice/collabora.yml:traefik/opencloud.yml:traefik/collabora.yml:radicale/radicale.yml
Save the file and exit the editor.
Start OpenCloud
Launch OpenCloud using Docker Compose:
docker compose up -d
This will start all required services in the background.
Verify TLS Certificates
After starting OpenCloud, verify that SSL certificates were issued correctly and switch from staging to production certificates when ready.
Verify Staging Certificates
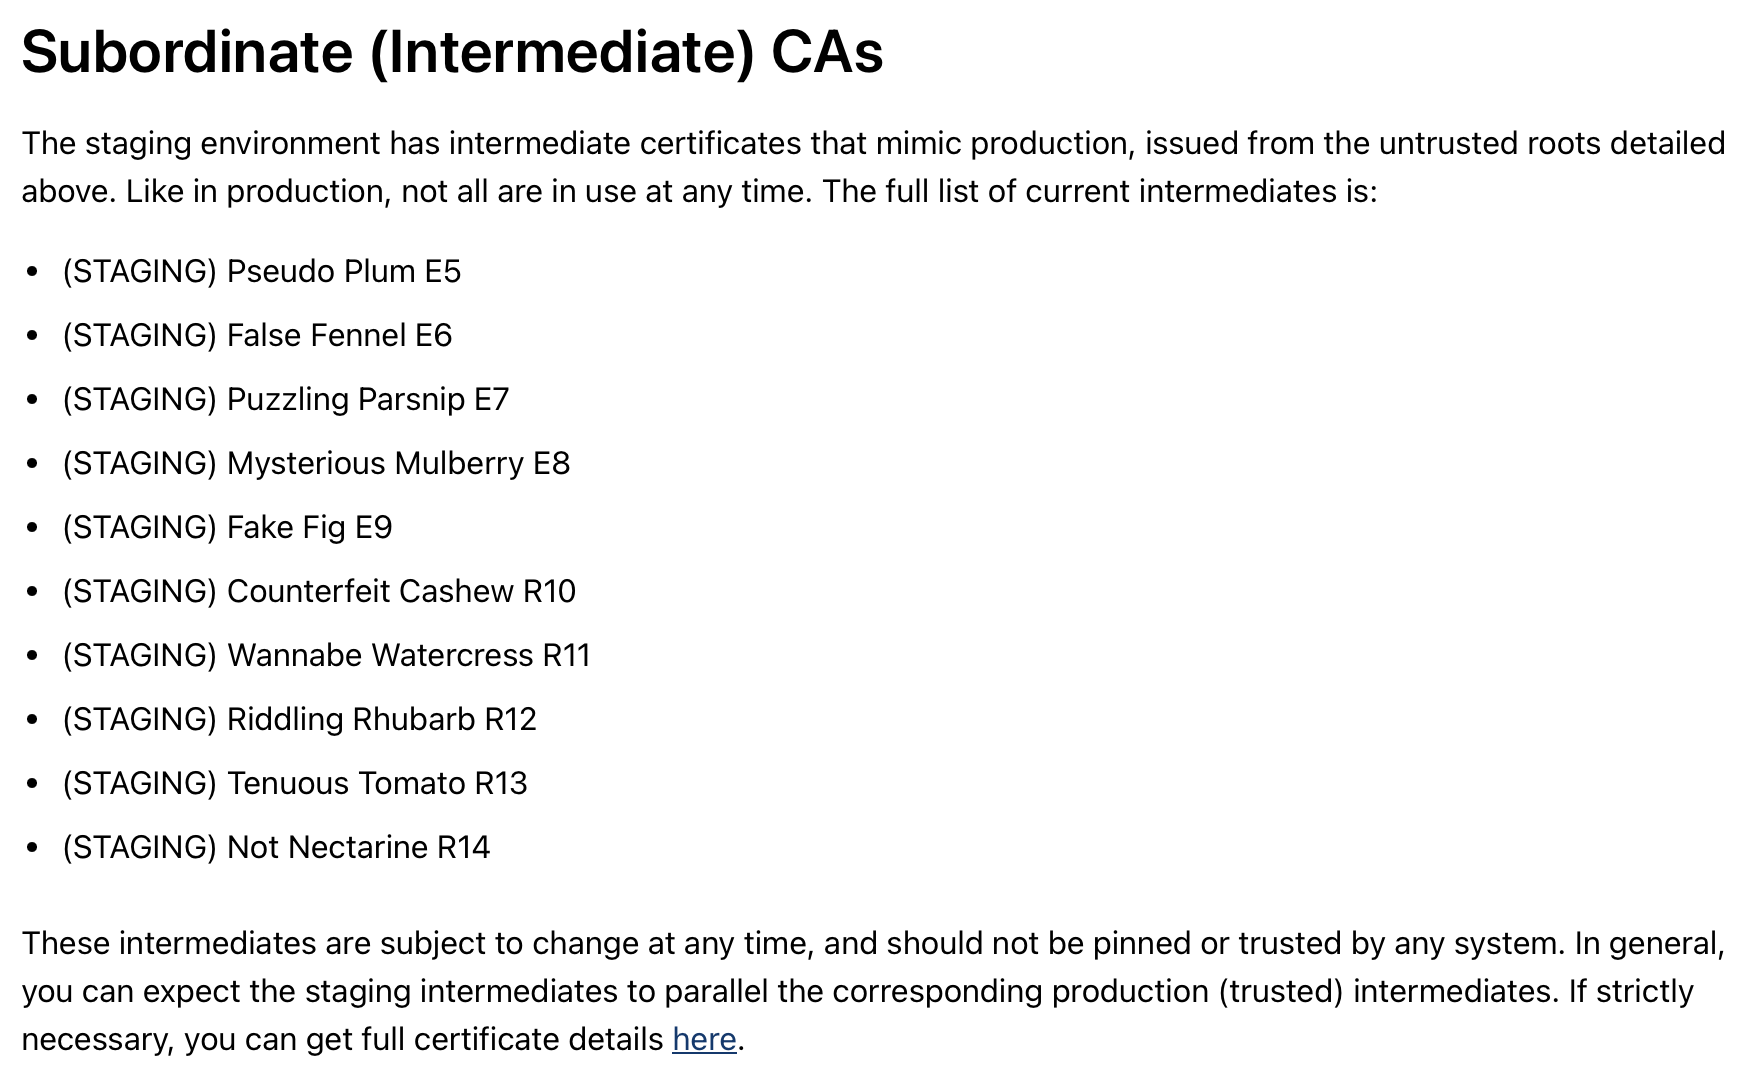
By default, the setup uses Let's Encrypt staging certificates for testing. These are not trusted by browsers but prove that the DNS and certificate generation workflow is correct.
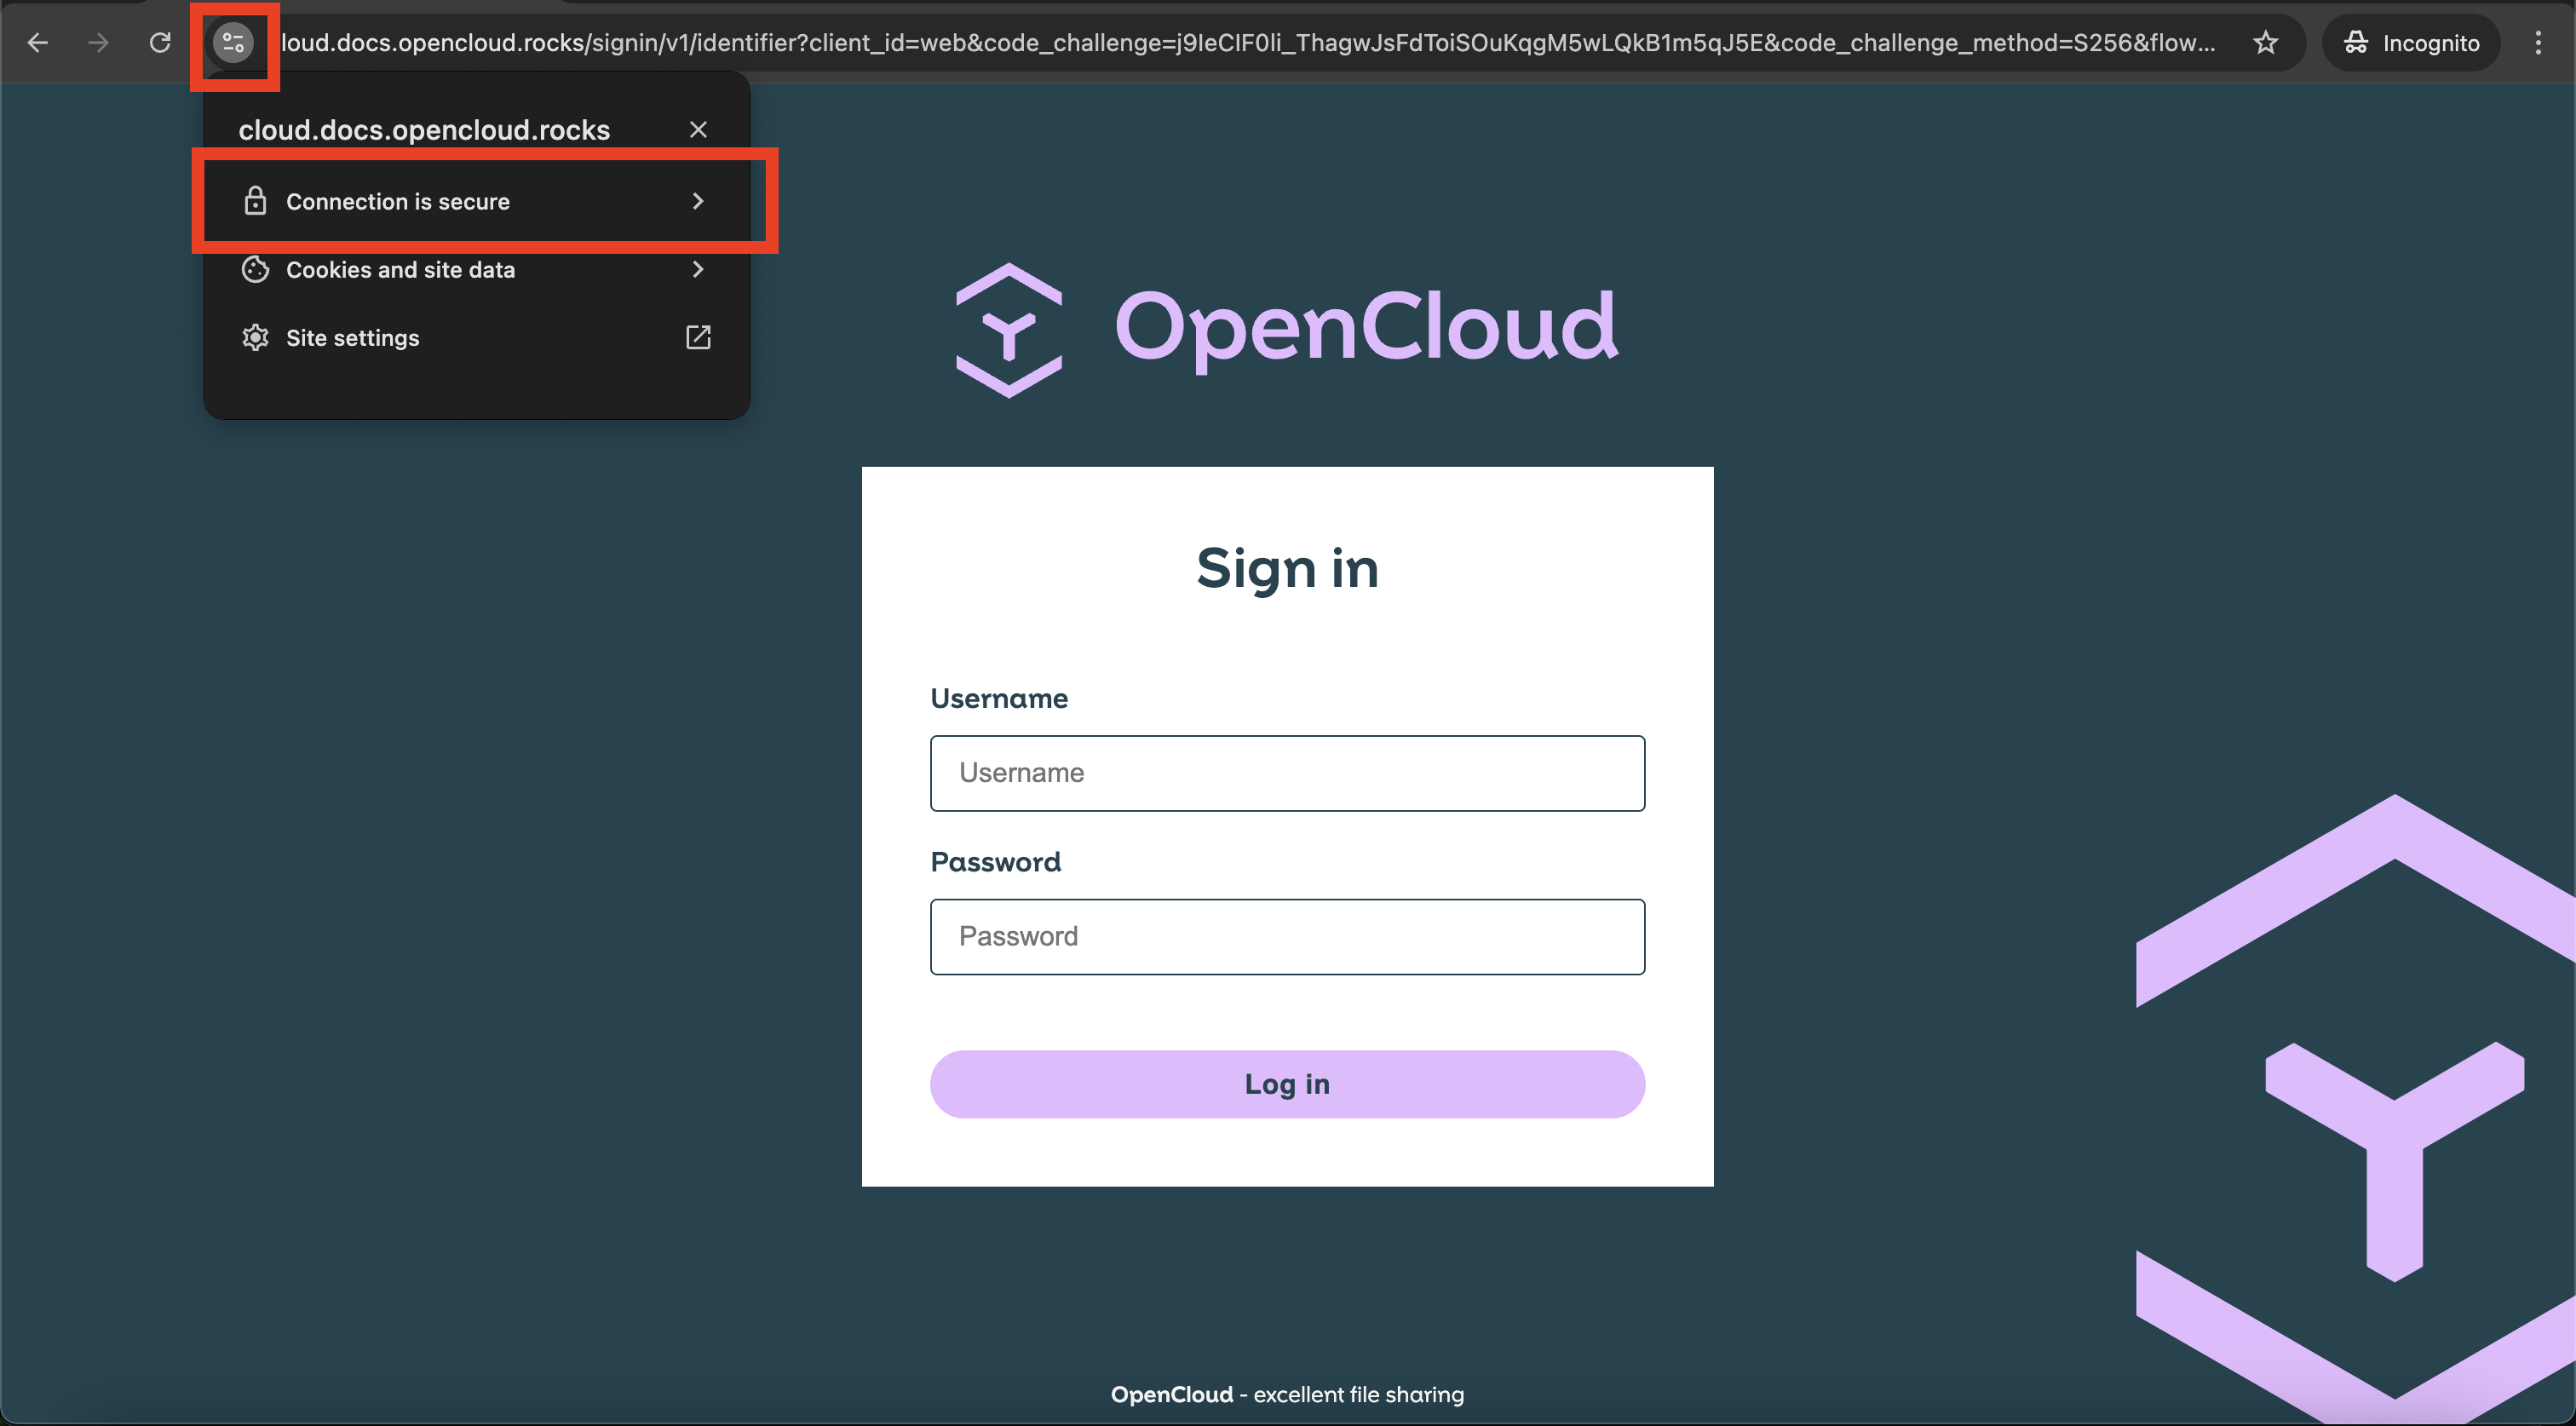
Open the following URL:
https://cloud.YOUR.DOMAIN
Because the setup currently uses Let's Encrypt staging certificates, your browser will show a security warning. This is expected and normal for the staging environment.
The same warning may appear for the other configured domains.
Example in Chrome
Click on the lock icon to view certificate details:

Expand the certificate information to confirm it was issued by "Let's Encrypt Staging":
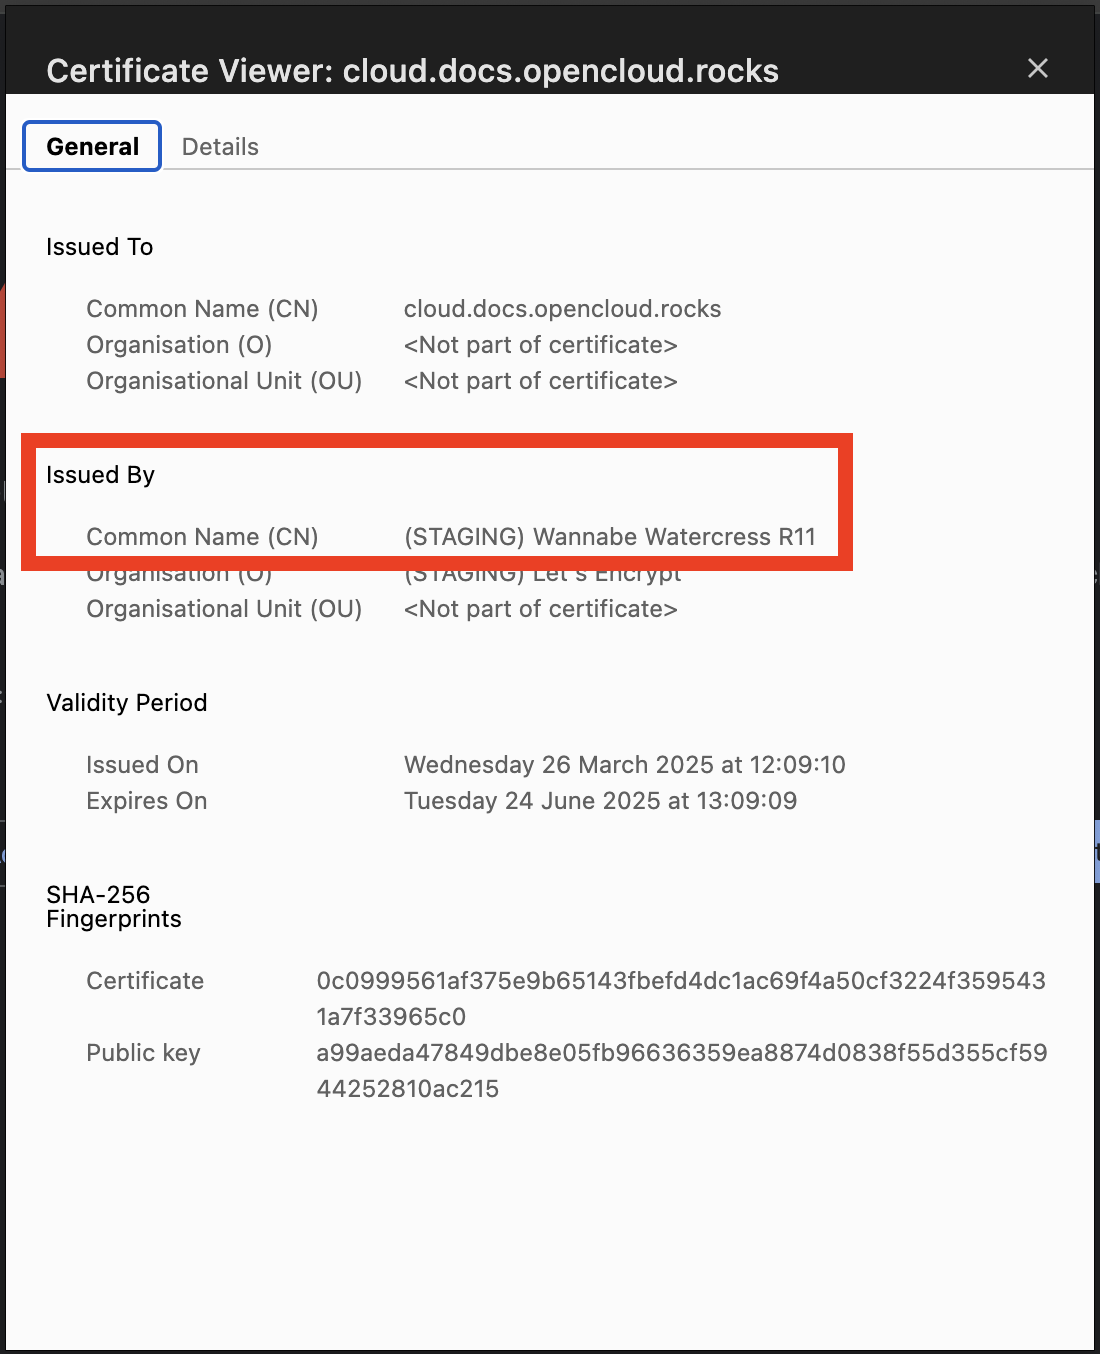
If you see "Let's Encrypt Staging" as the issuer, the certificate generation is working correctly. You can now safely switch to production certificates.
Switch to Production Certificates
Once the staging certificate works correctly, you can switch to production SSL certificates from Let's Encrypt.
Stop Docker Compose
docker compose down
Remove old staging certificates
Delete the previously generated staging certificates:
rm -r certs
If you changed volume names or paths in your .env file, adjust this command to match your certificate directory.
Disable staging mode in .env
Open the environment file:
nano .env
Comment out or remove the staging server line:
# TRAEFIK_ACME_CASERVER=https://acme-staging-v02.api.letsencrypt.org/directory
Save the file.
Restart OpenCloud with production certificates
Start the containers again:
docker compose up -d
Traefik will now request trusted production certificates from Let's Encrypt.
Wait for certificate generation
Certificate generation may take a few moments. Check the logs:
docker compose logs traefik
Look for messages indicating successful certificate generation.
Verify production certificates
After a short moment, visiting your domain should show a secure HTTPS connection:
The lock icon should show "Secure" (green lock) with "Let's Encrypt Authority X3" or similar as the issuer.
Log into OpenCloud
Once certificates are verified:
- Open your domain in a browser:
https://cloud.YOUR.DOMAIN
- Log in with your admin credentials:
- Username:
admin - Password: (the password you configured in the
.envfile)
- Username:
Further Configuration
- Volume Permissions – Ownership, UID/GID mapping, and bind-mount permissions
- Production Setup Considerations – Persistent storage, backups, and production best practices
- Configure Keycloak (optional) – Add Keycloak for enterprise identity management
- Configure Authentication – User management and identity provider integration
Troubleshooting
If you encounter issues:
- Check Docker logs:
docker compose logs - Verify domain DNS records point to your server
- Ensure firewall allows HTTP (80) and HTTPS (443)
- See Common Issues & Help