Keycloak Integration
Enable Keycloak
To enable Keycloak for identity and access management, uncomment the following lines in your .env file
# Enable services
COMPOSE_FILE=docker-compose.yml:idm/ldap-keycloak.yml:traefik/opencloud.yml:traefik/ldap-keycloak.yml
# Your public keycloak domain without protocol
KEYCLOAK_DOMAIN=your-keycloak-domain.example.com
# Admin user login name. Defaults to "kcadmin".
KEYCLOAK_ADMIN=
# Admin user login password. Defaults to "admin".
KEYCLOAK_ADMIN_PASSWORD=
The Docker Compose file idm/ldap-keycloak.yml contains the complete configuration for each component.
Keycloak is configured during startup by importing the keycloak-realm.dist.json file. This file contains the configuration for the OpenCloud realm, including client settings, roles, and user federation. This file is located in the config/keycloak directory of the opencloud-compose repository.
Starting OpenCloud
After starting OpenCloud, Keycloak will be available at
https://keycloak.your.domain
Initial User Setup in Keycloak
Once Keycloak is running
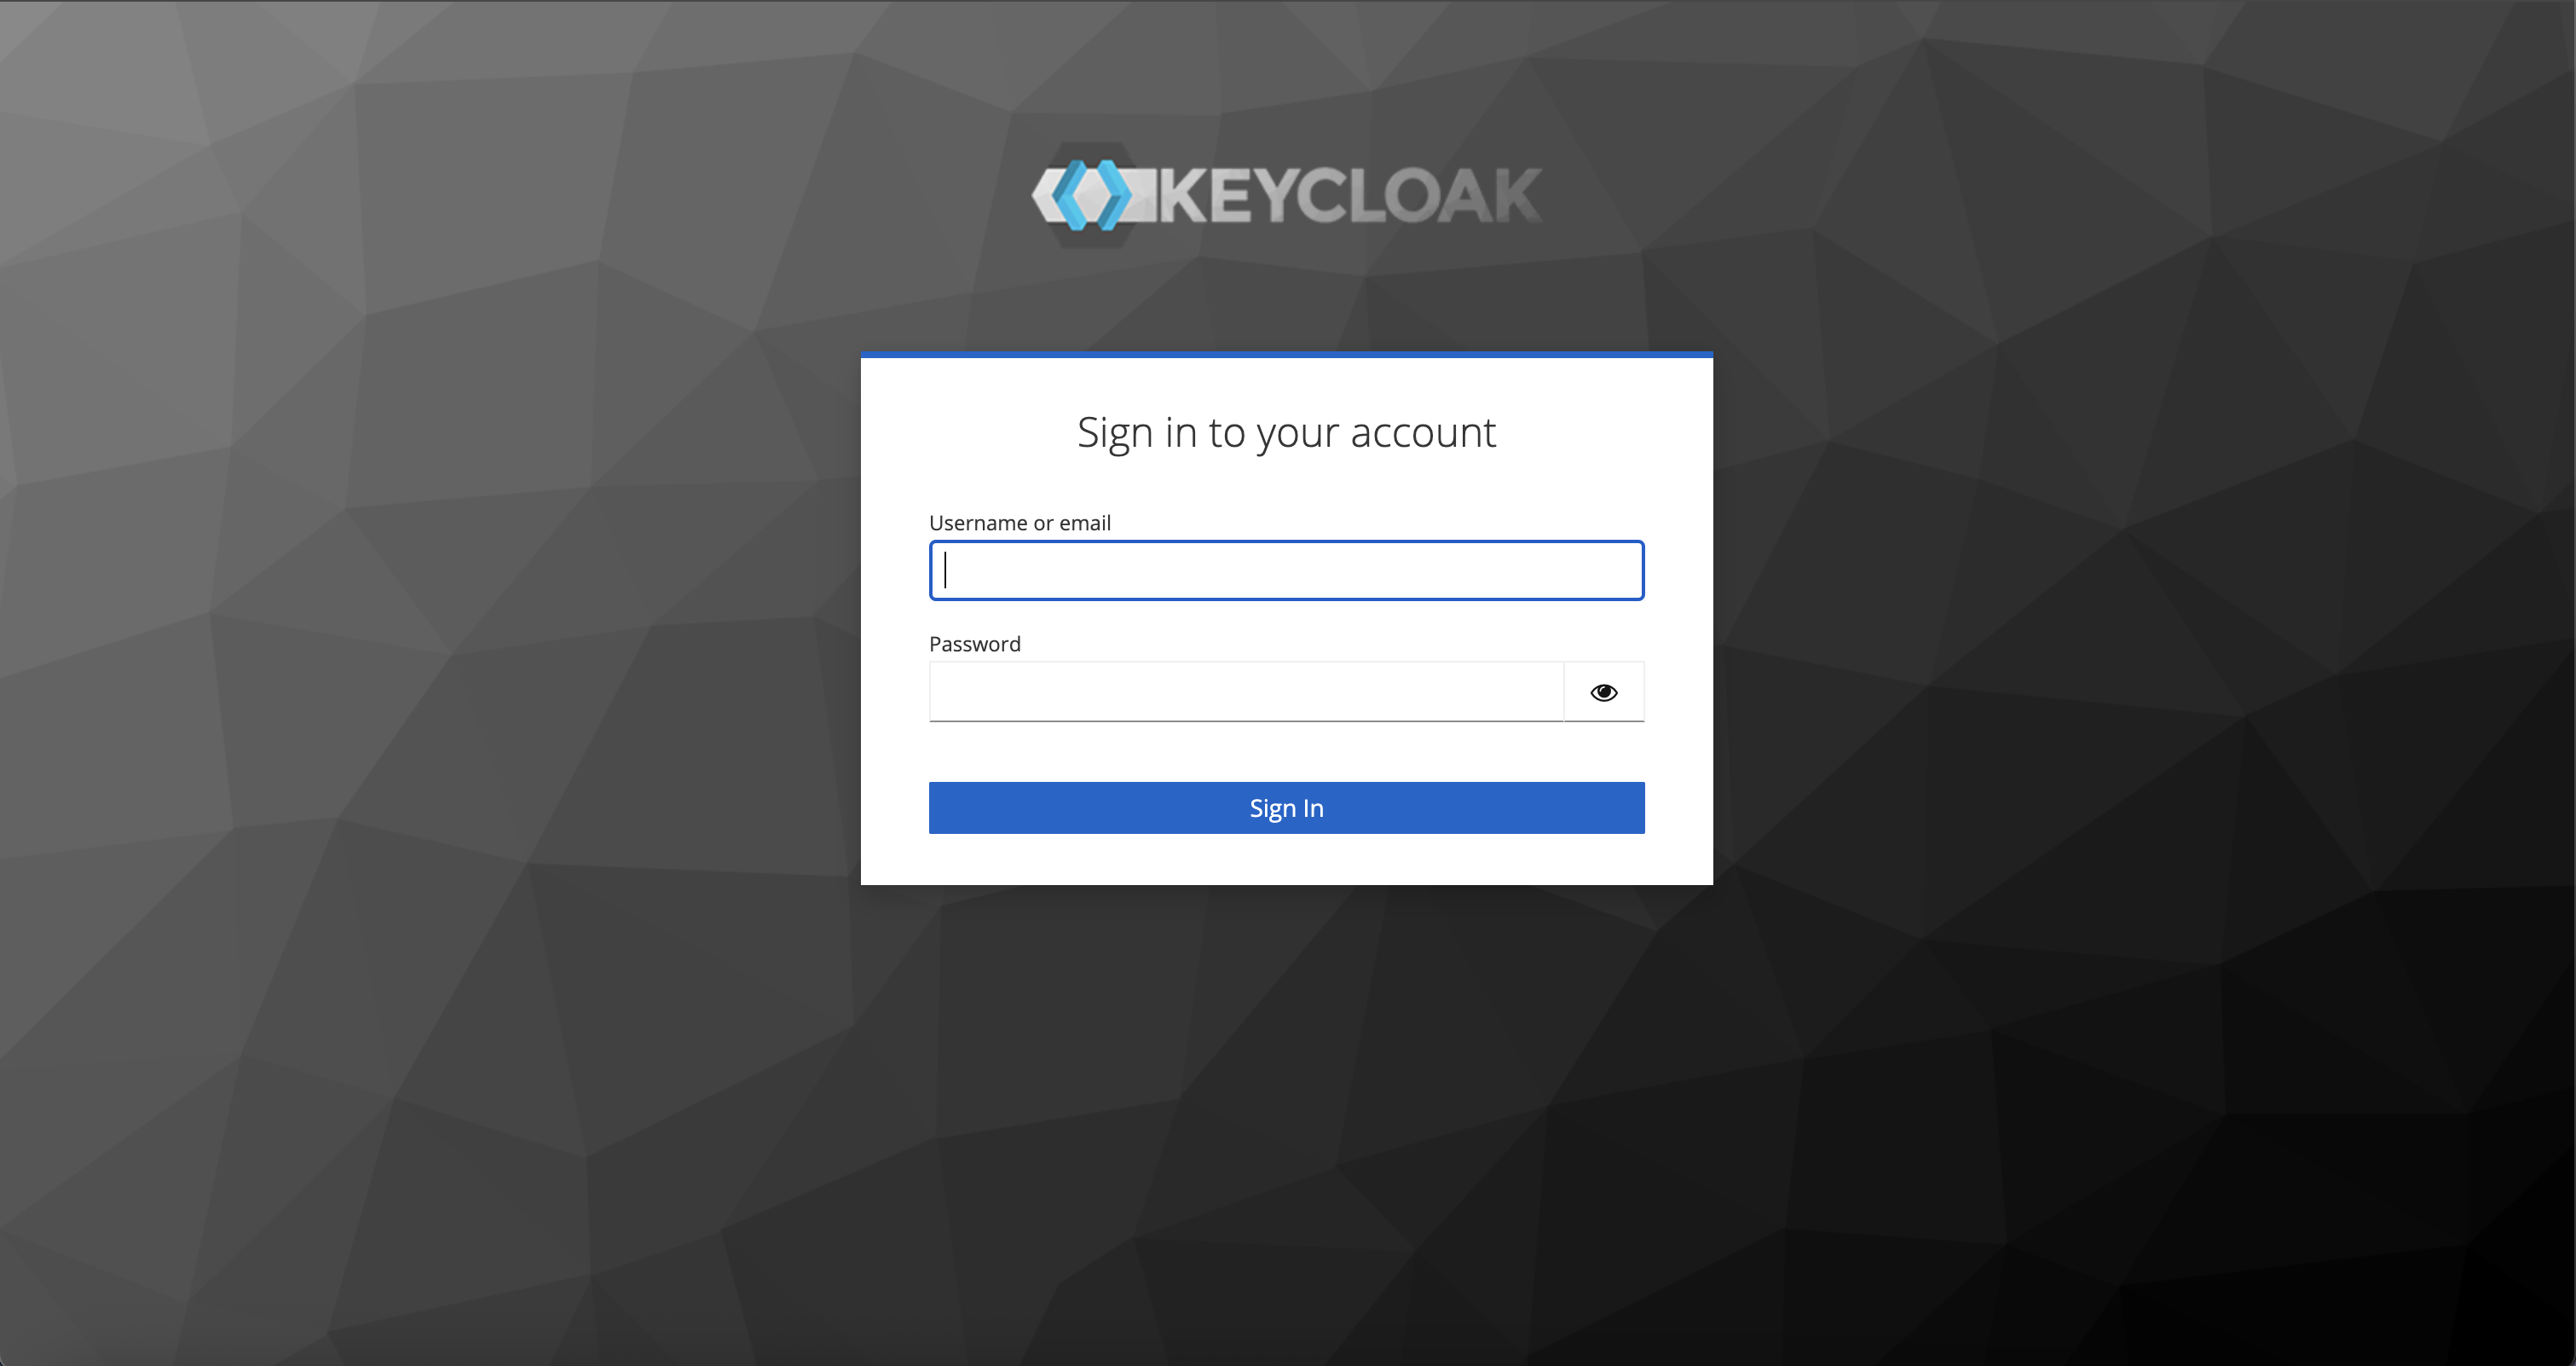
Open your browser and go to
https://keycloak.your.domain
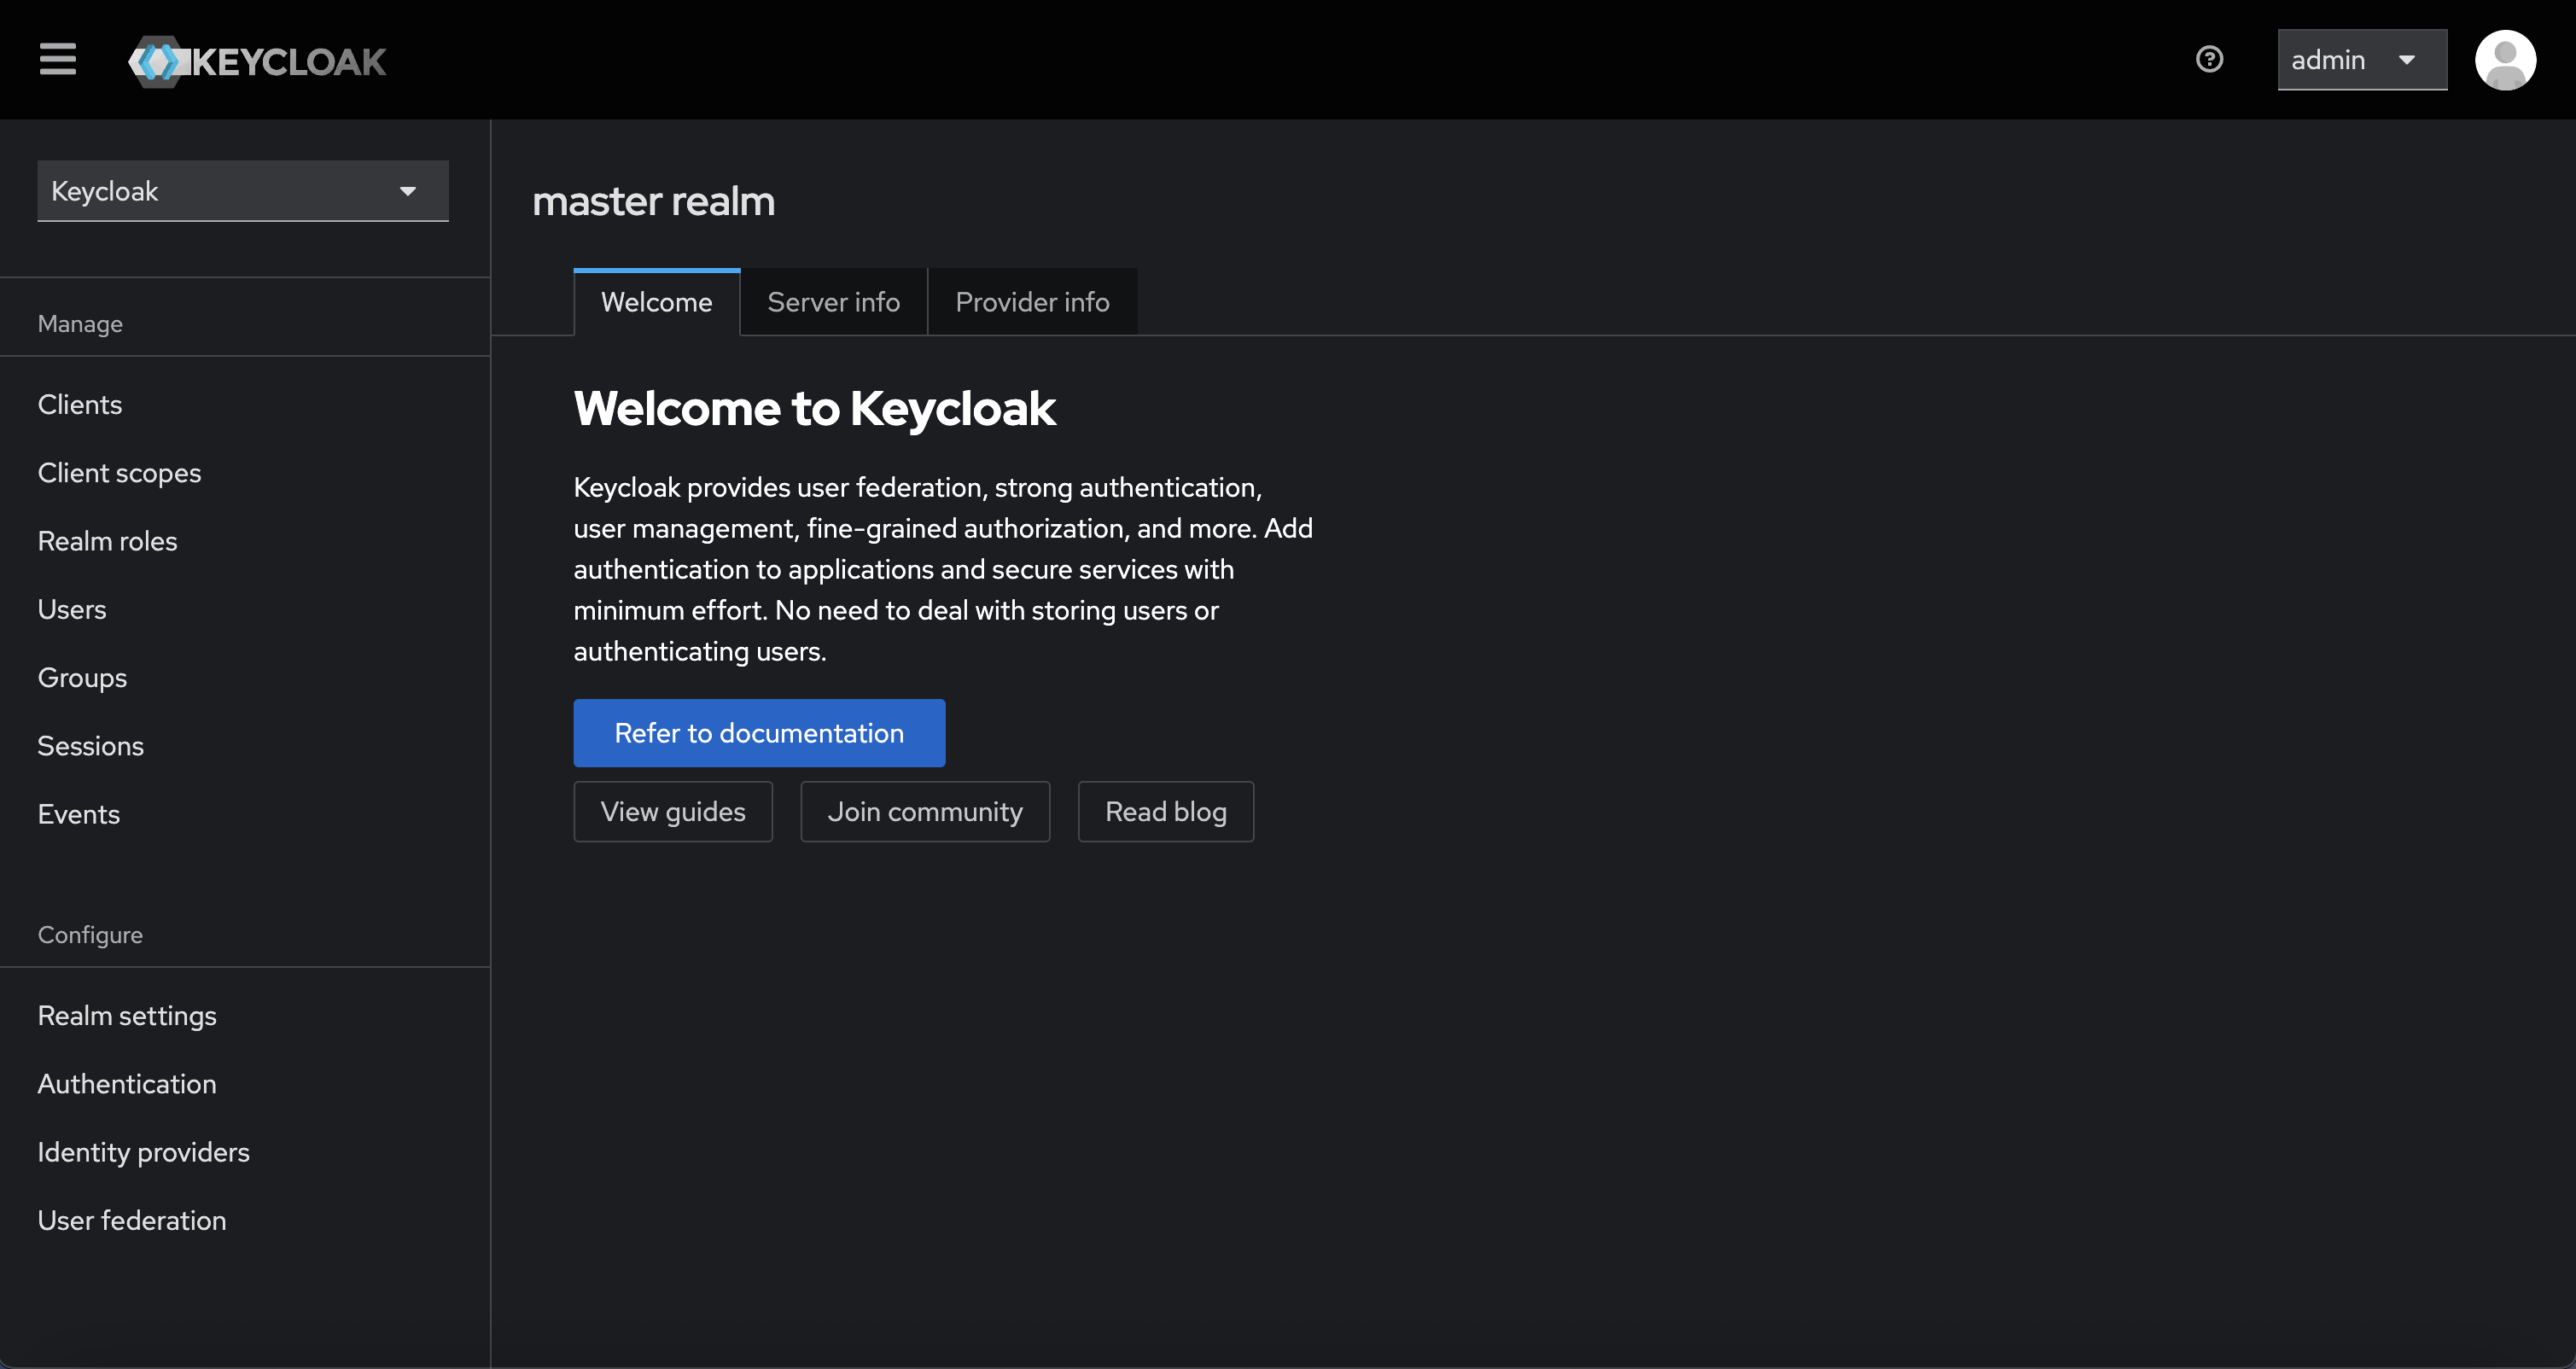
Log in with the admin credentials (default is admin / admin)
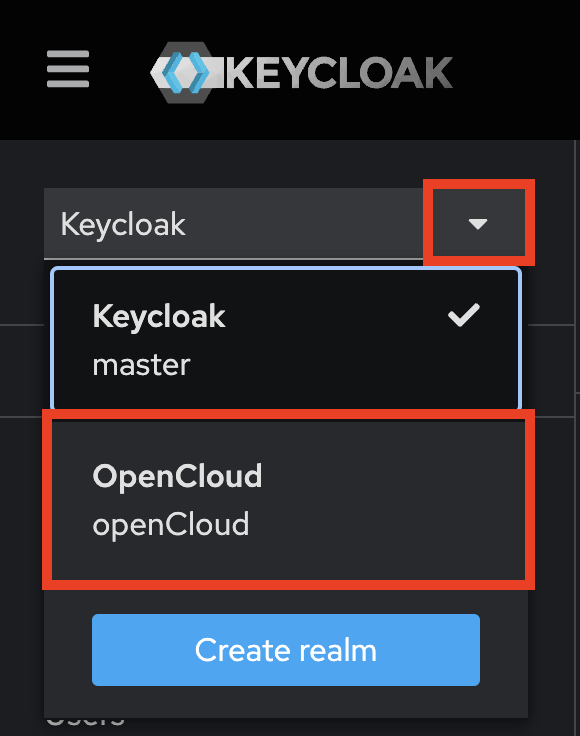
In the top-left dropdown (labeled Keycloak), switch to the OpenCloud realm
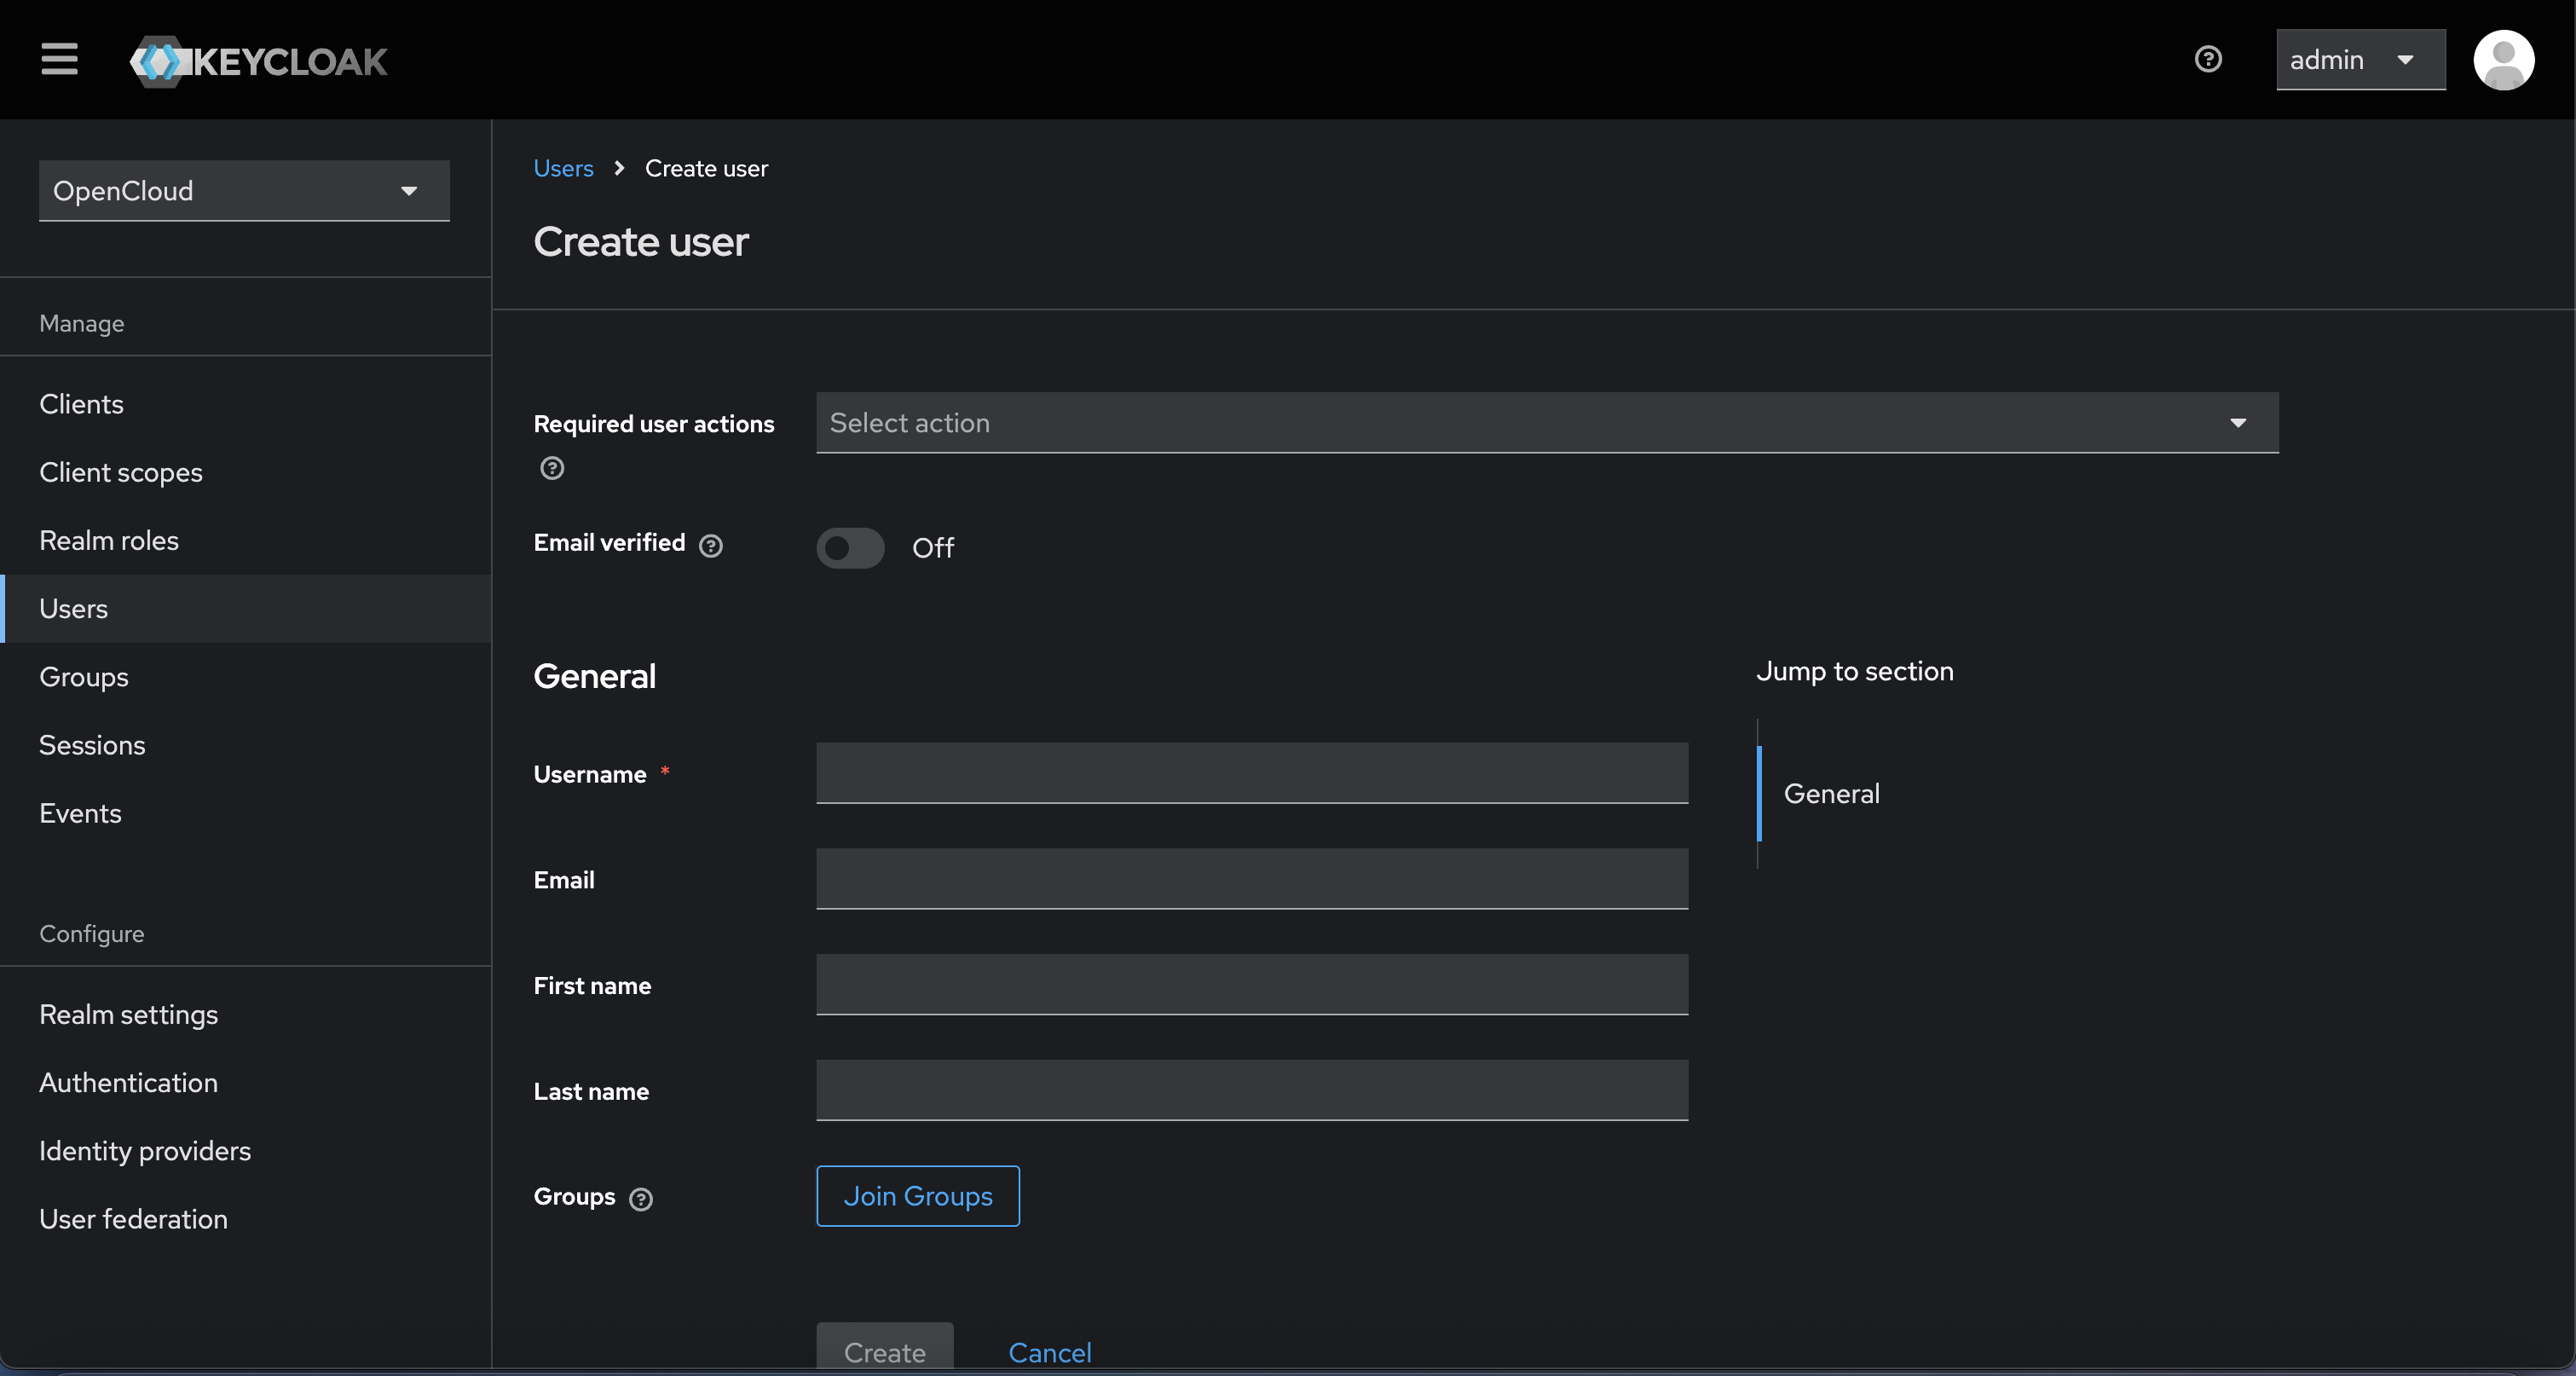
Navigate to the "Users" section and click "Add user"
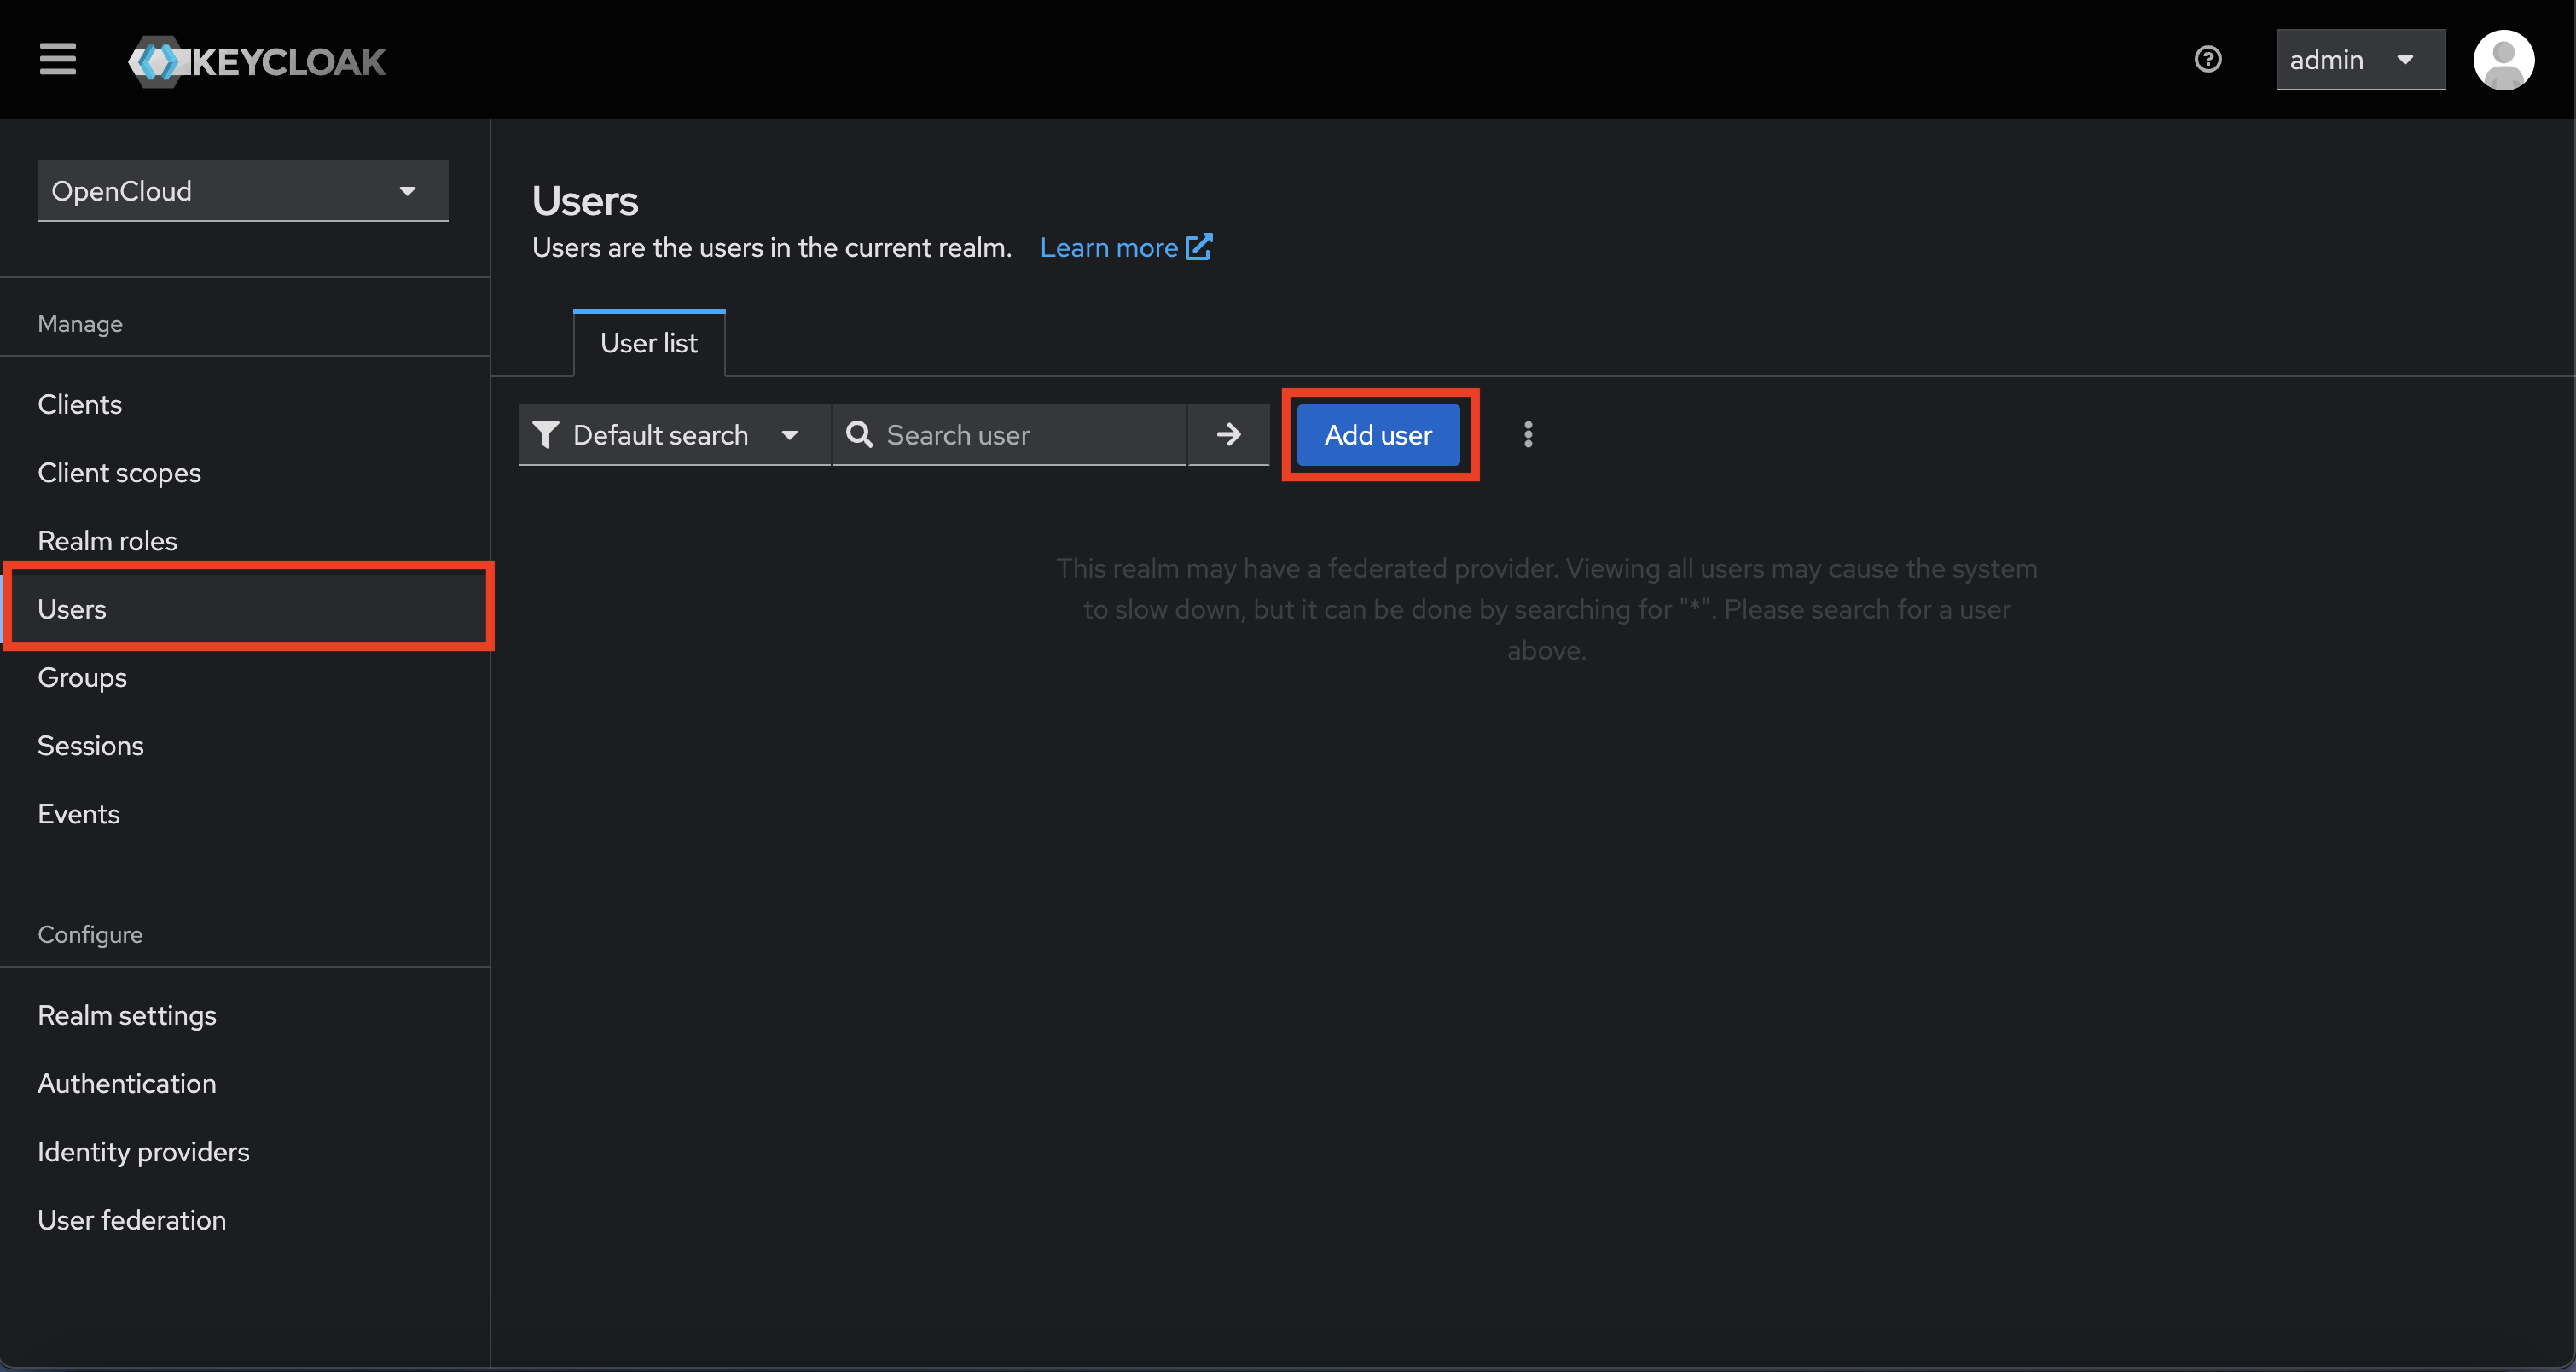
- Fill in a username
- Optionally add email, first/last name
- Click "Create"
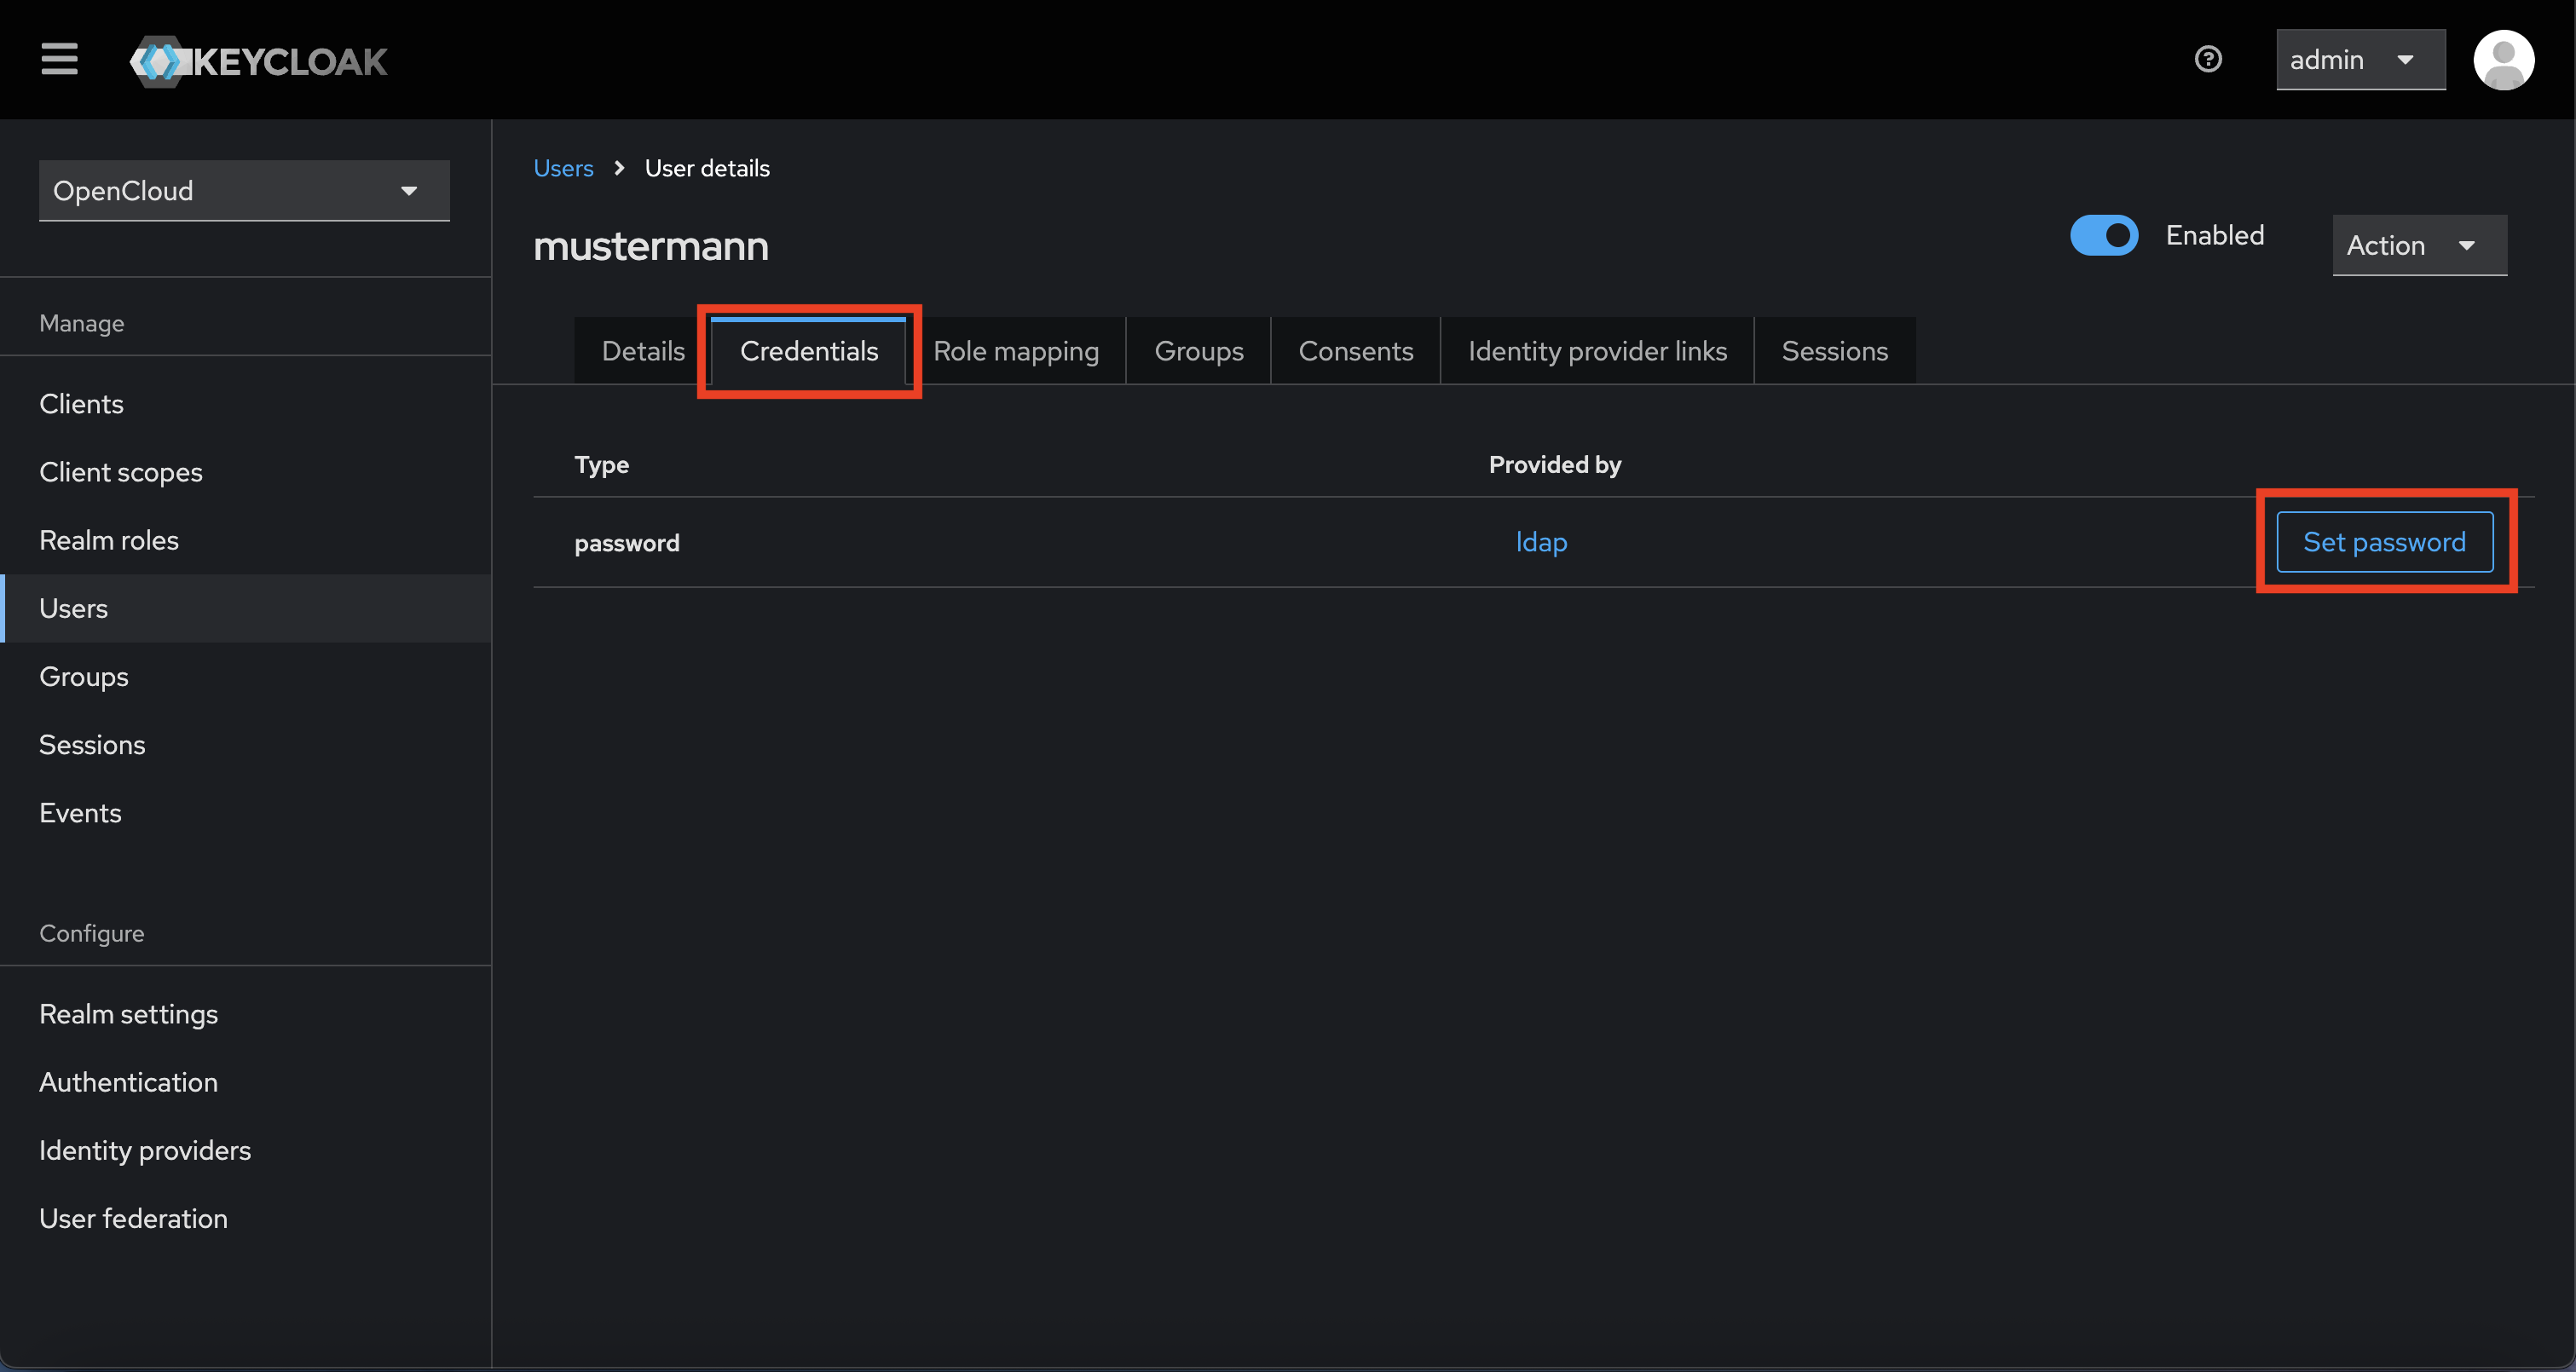
Go to the "Credentials" tab
- Click "Set password"
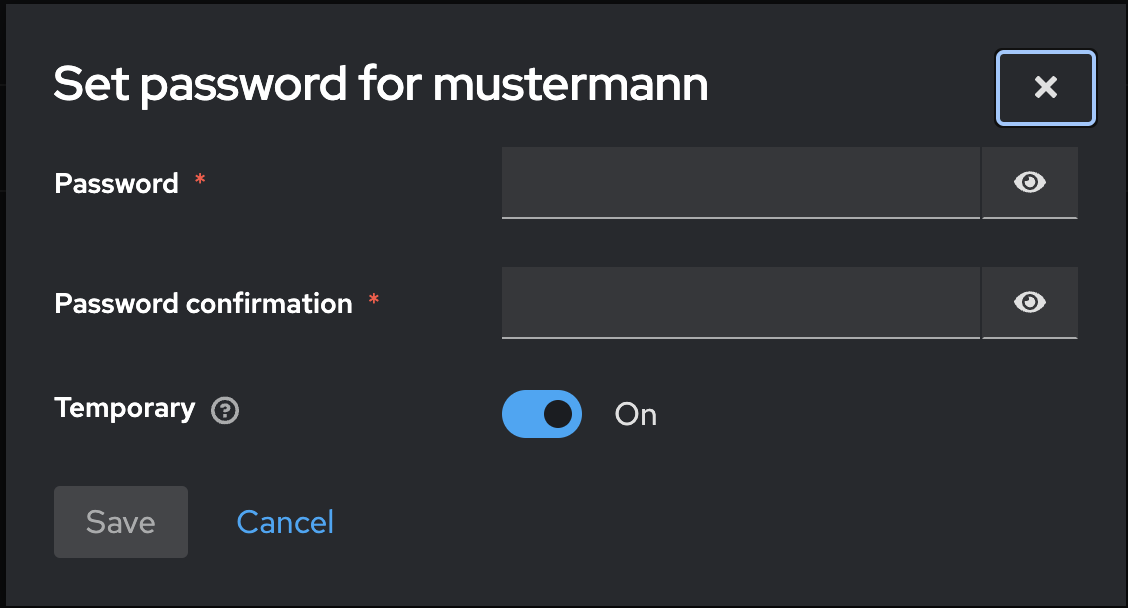
- Set a temporary password
- Enable "Temporary" to force password change on first login (optional)
- Click "Save"
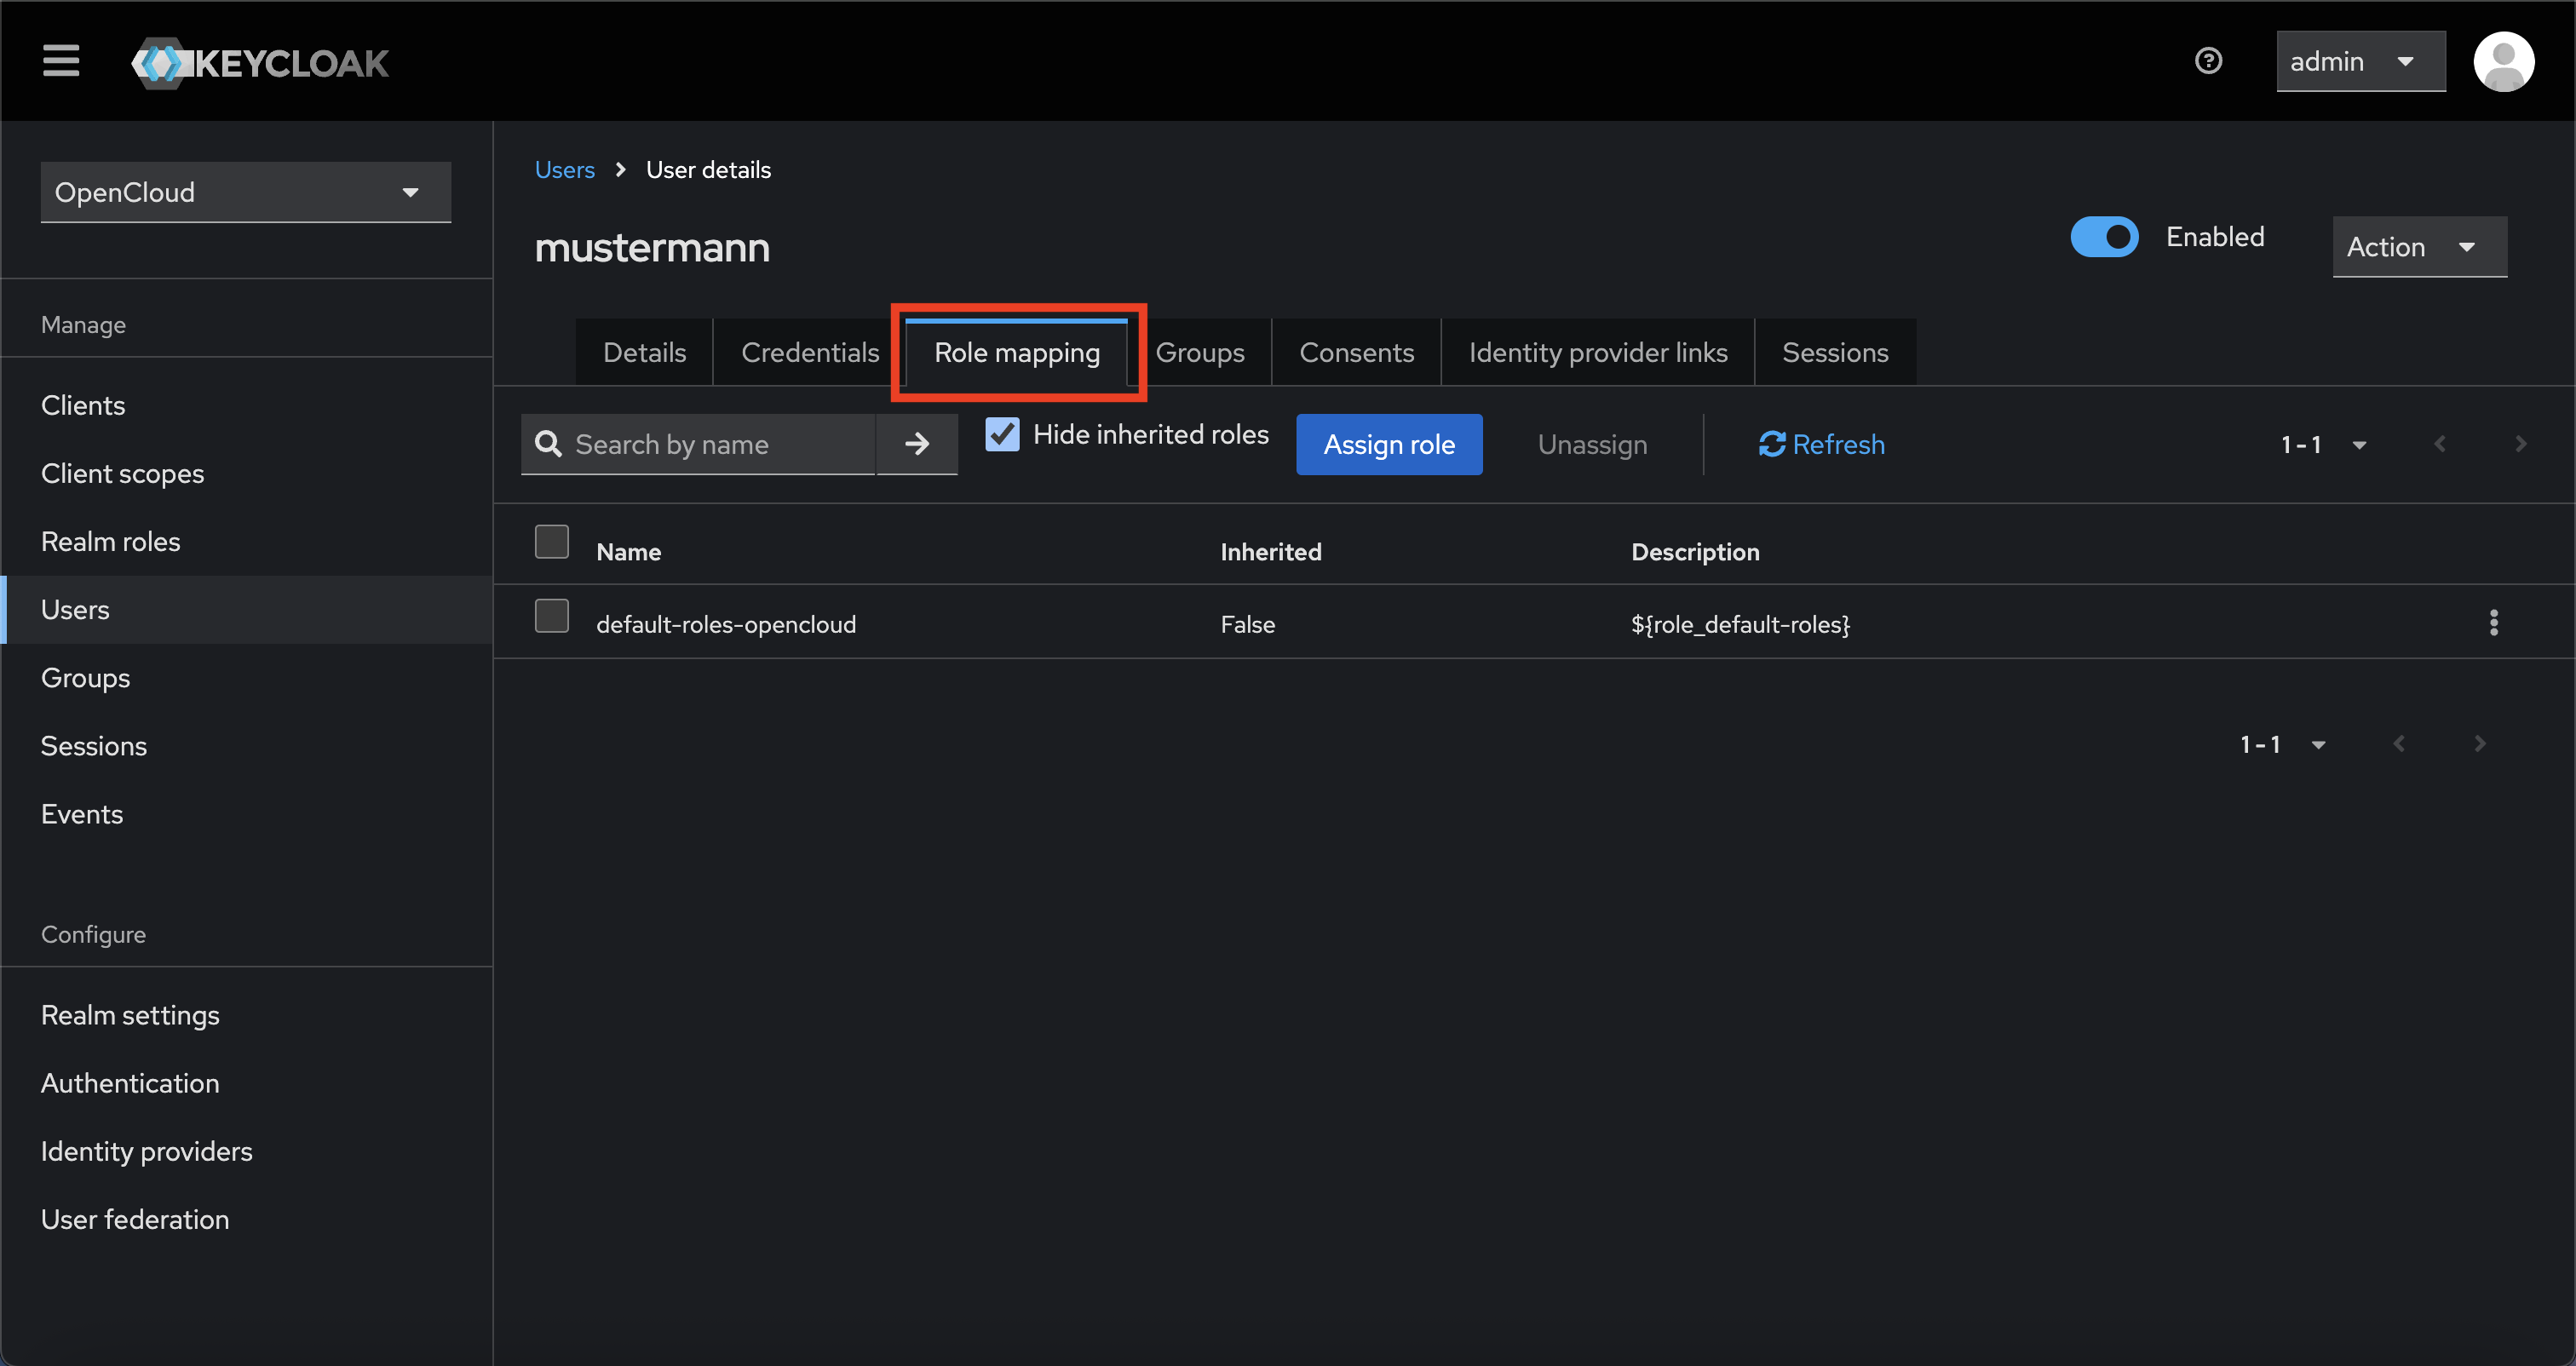
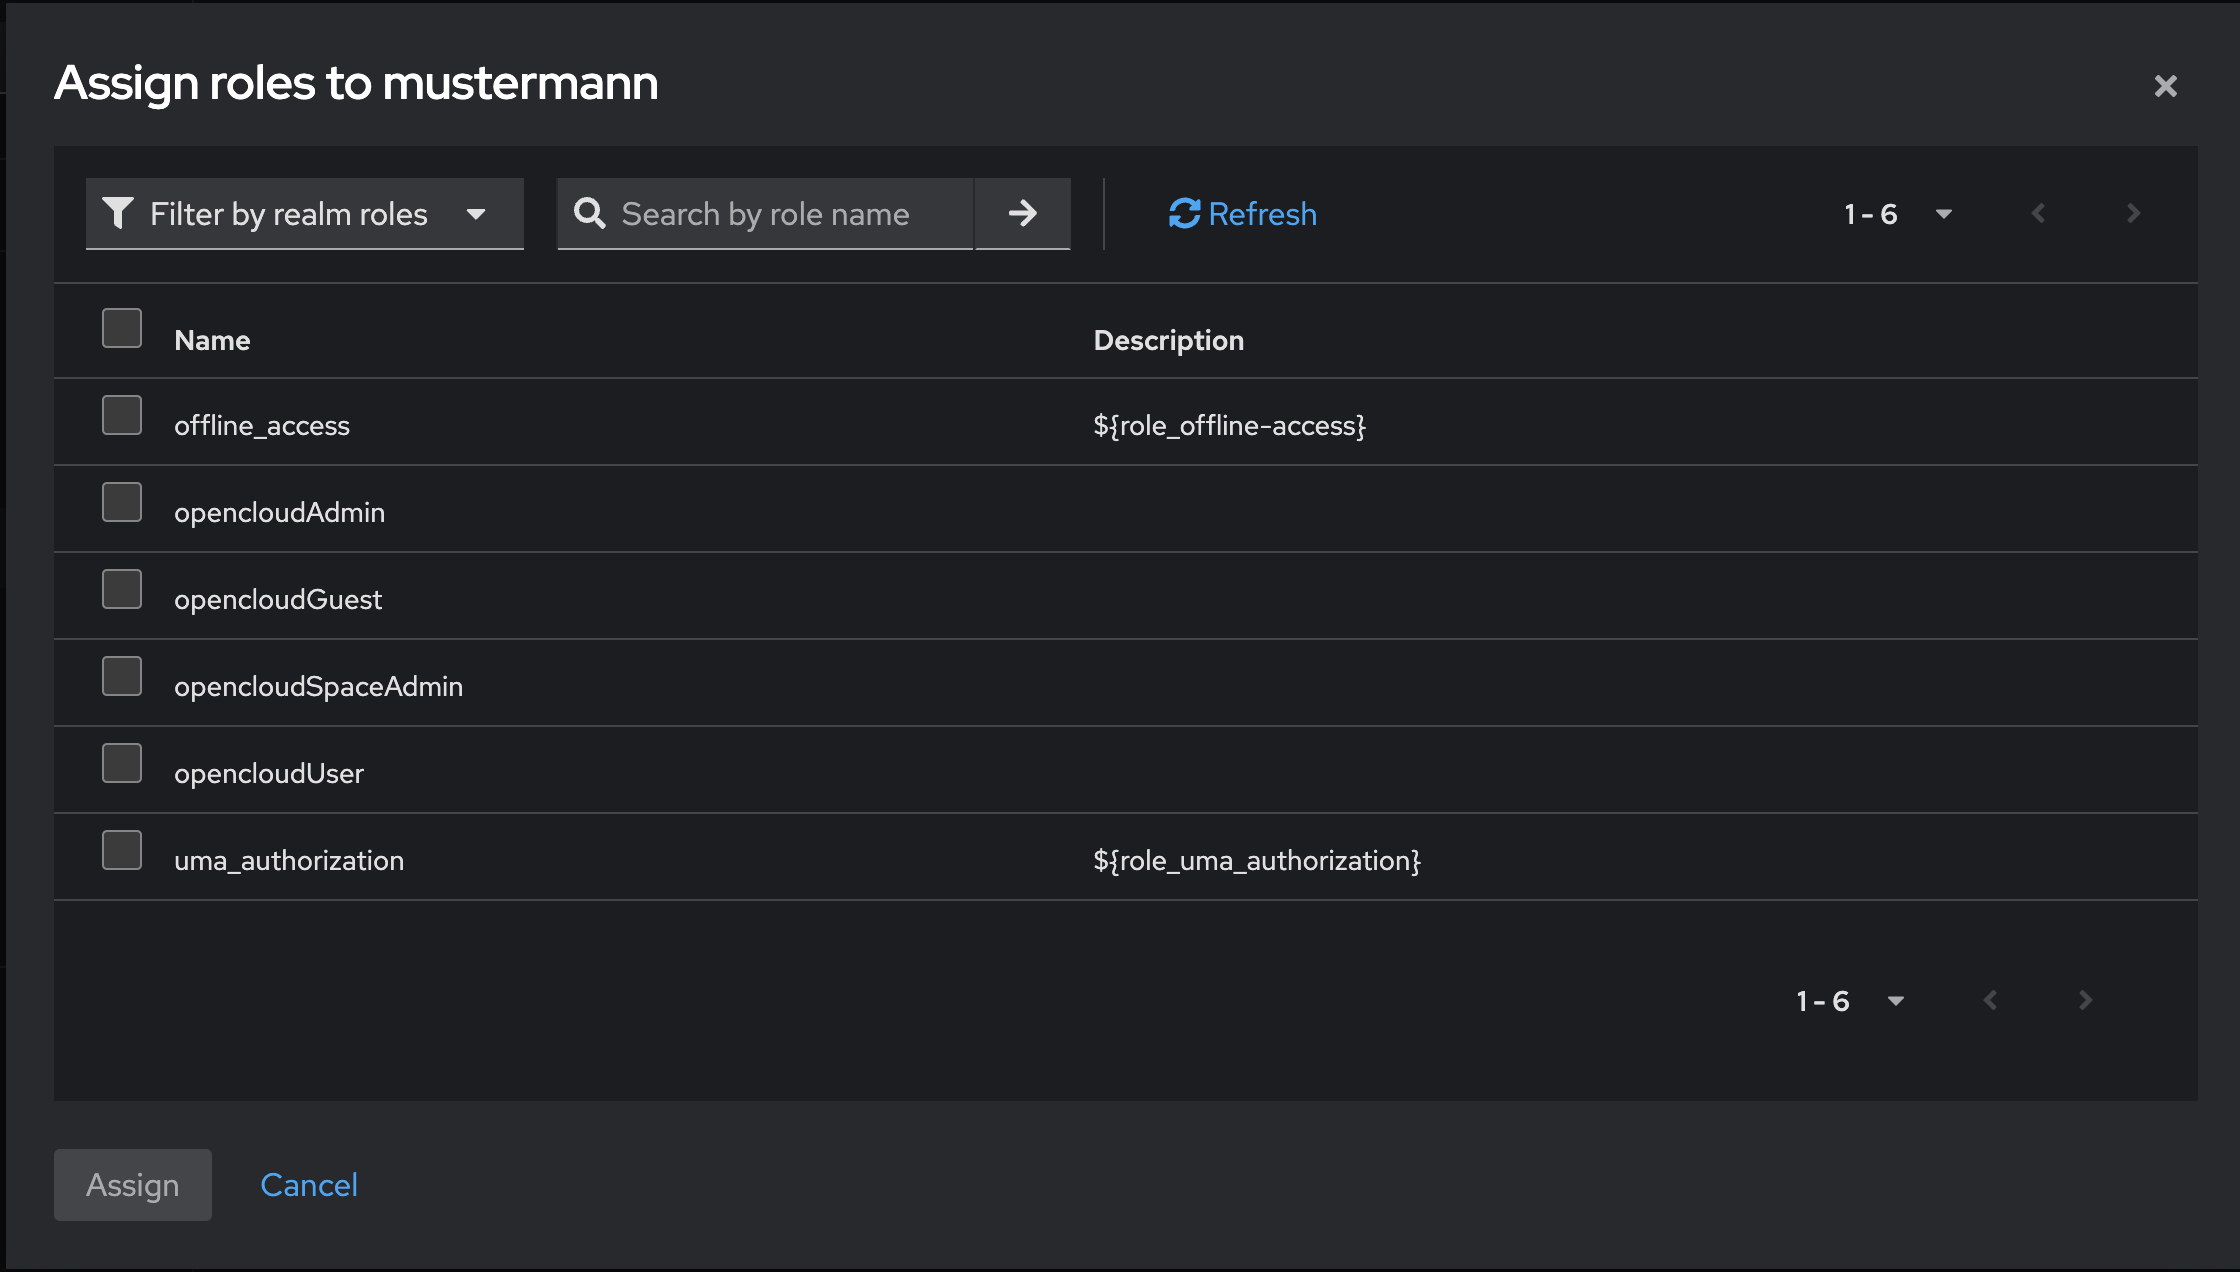
Go to the "Role Mapping" tab
-
Click "Assign role"

-
In the dialog, click "Filter by realm roles"

-
Choose the appropriate role (e.g., user, admin, etc.)
-
Click "Assign"
The user can now log in via OpenCloud using the Keycloak credentials.