Connect to a Space via WebDAV
With WebDAV, you can connect OpenCloud Spaces and folders as network drives on your device and manage your files directly from your file manager without using the browser.
Prerequisites
- A valid OpenCloud account with WebDAV information enabled in the account settings
- Access to a resource in OpenCloud, either a Space, a folder, or the root of your account
- A WebDAV client, for example built-in OS support or Mountain Duck
- If your WebDAV client requires it, an App Token
→ How to create an App Token
Step-by-Step Guide
Enable WebDAV info in the UI
To display WebDAV information for a Space:
-
Open Account Settings.
-
Enable "Show WebDAV info in details view".

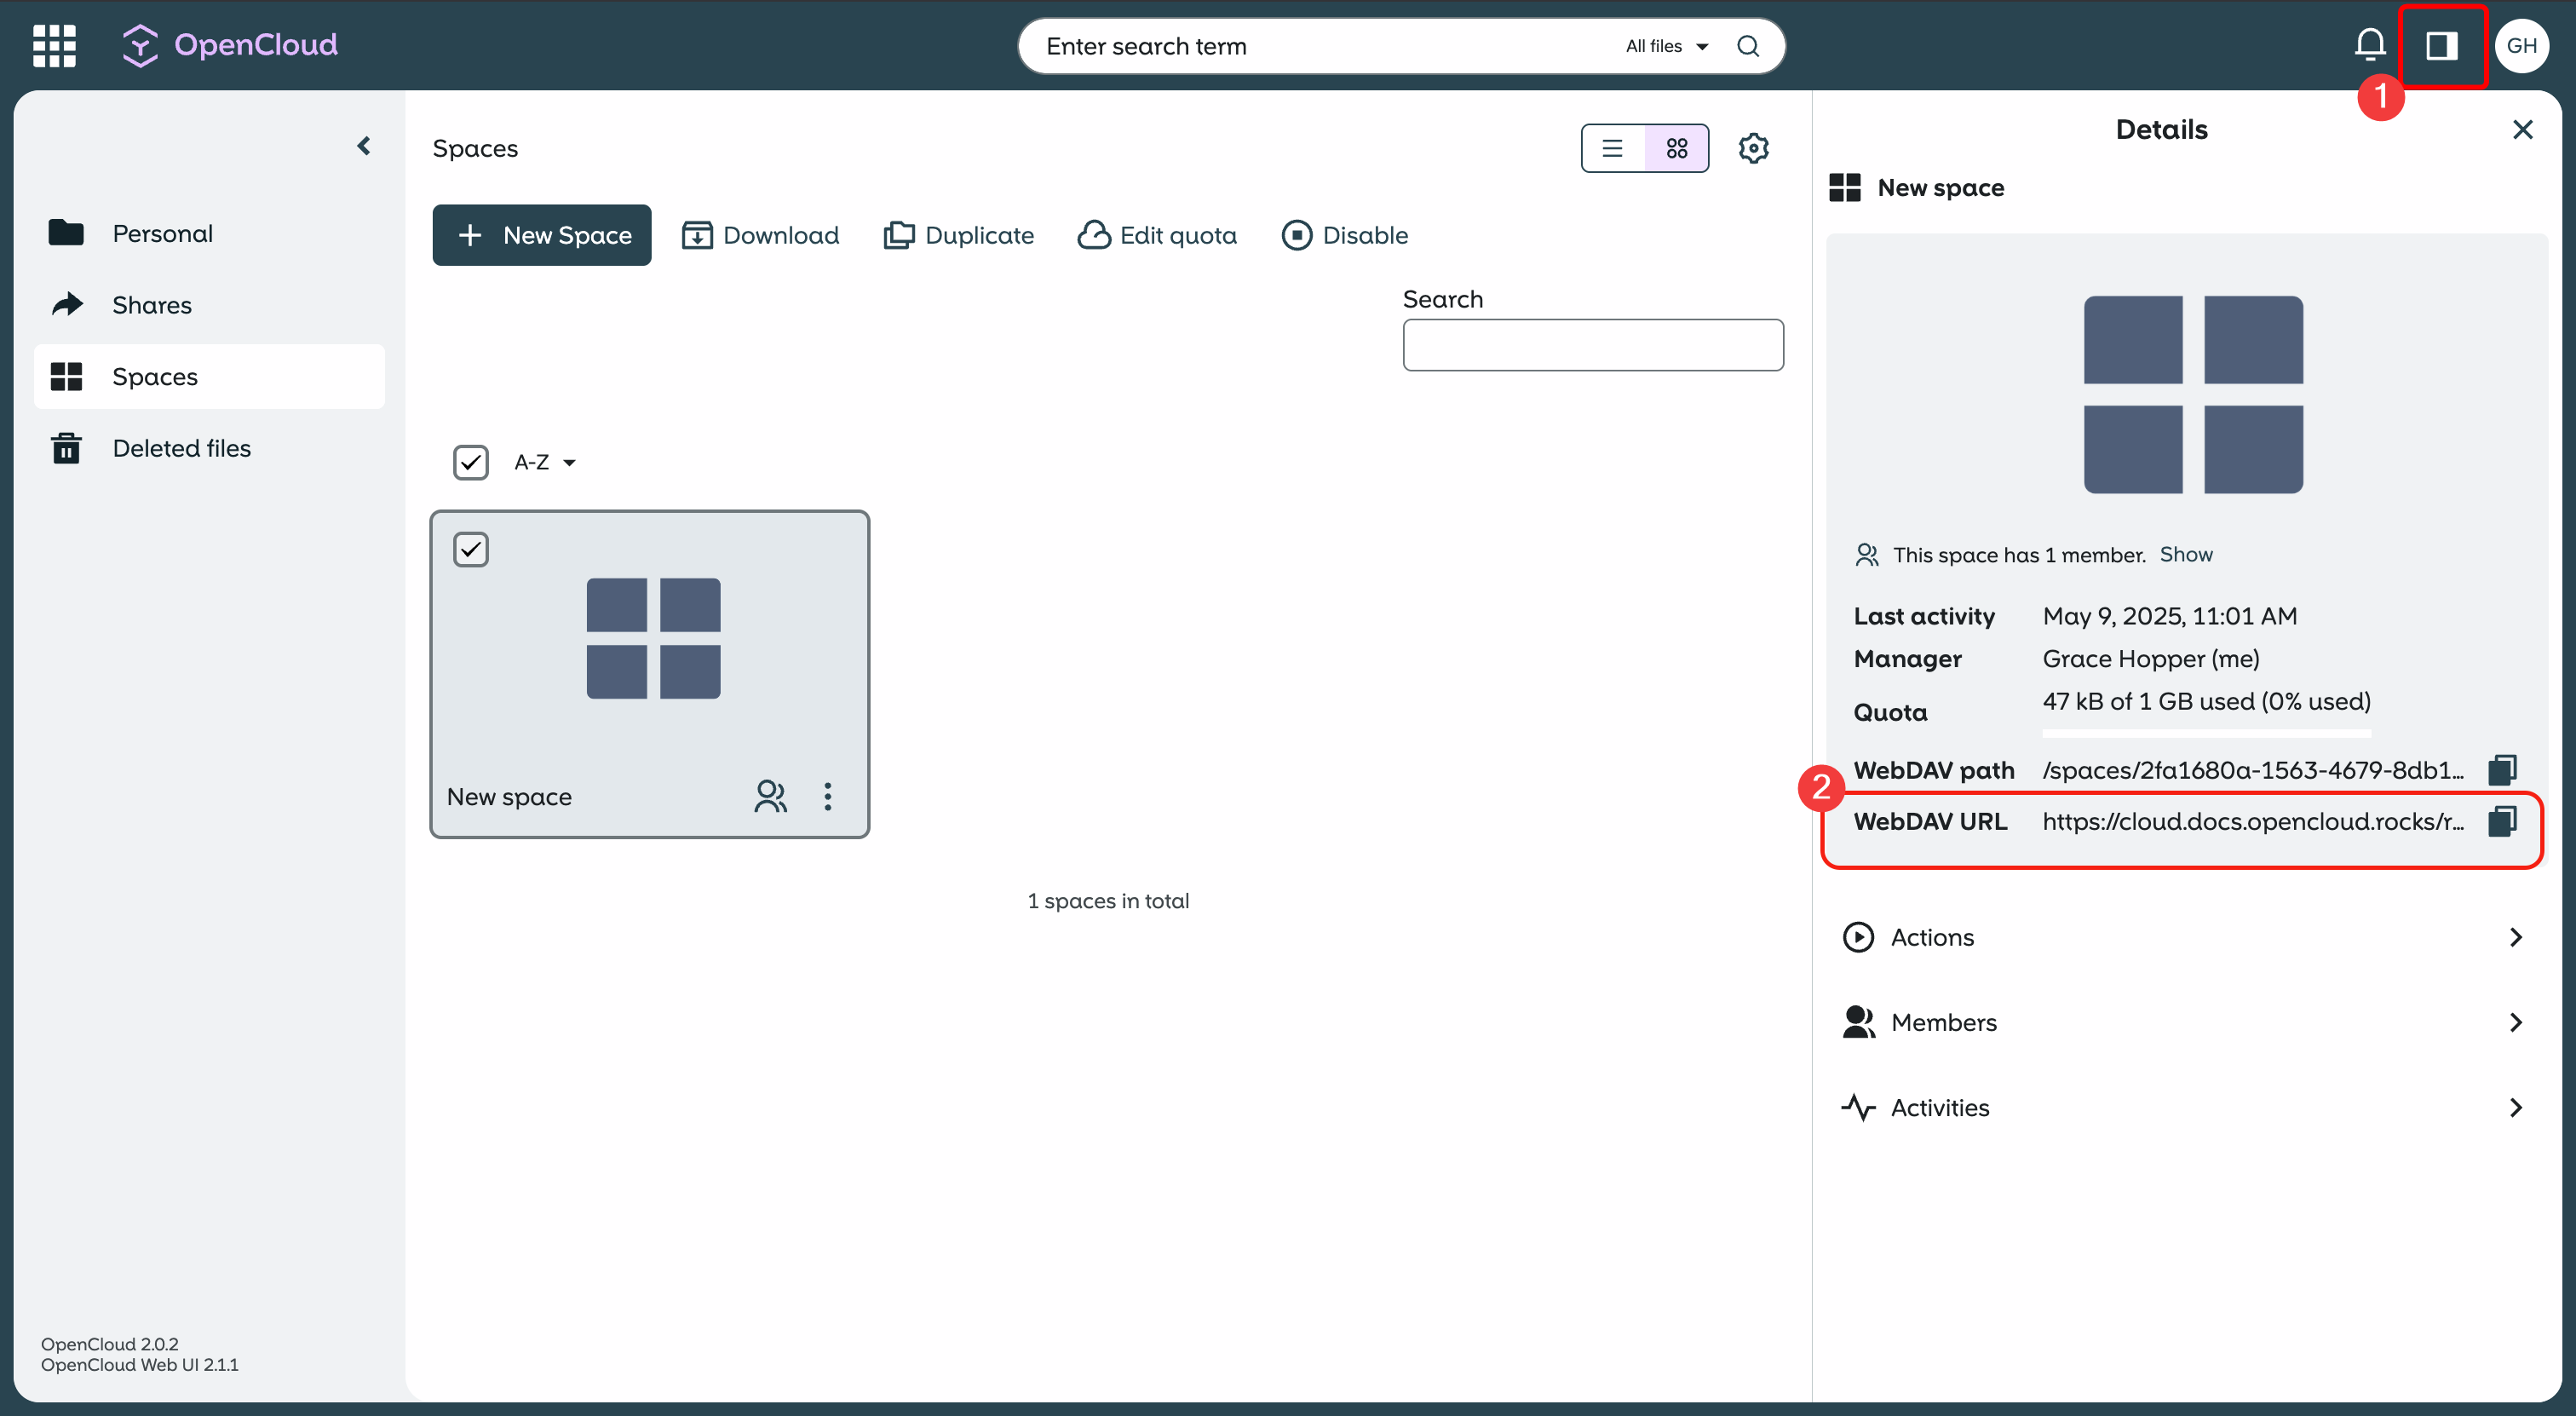
Get the WebDAV URL
Open the info panel of the Space, folder, or account root you want to access in the OpenCloud web interface.
You will see a section labeled WebDAV. Copy the full WebDAV URL. It looks like this:
https://cloud.example.com/remote.php/dav/spaces/12345678-abcd-efgh-ijkl-987654321000/
Connect via WebDAV
Now connect your device using the WebDAV URL:
- Username: your OpenCloud username
- Password: your OpenCloud password or an App Token, depending on your setup
You can use various clients depending on your operating system:
Windows
- Open File Explorer.
- Click on "This PC" and choose "Map network drive".
- Enter the WebDAV URL.
- Authenticate with your username and password or App Token.
macOS
- In Finder, choose "Go" > "Connect to Server...".
- Enter the WebDAV URL.
- Log in with your credentials or App Token.
Linux
- Use your file manager’s "Connect to Server" option.
- Format the URL as:
davs://cloud.example.com/remote.php/dav/spaces/<SPACE-ID>/
note
Once connected, your Space behaves like a normal folder.
- If your client supports OIDC, you may not need an App Token.
- Use
https://to ensure secure access.