Public links - external sharing of files and folders in OpenCloud
With public links, you can share files and/or folders across organizations.
Steps to create public link
-
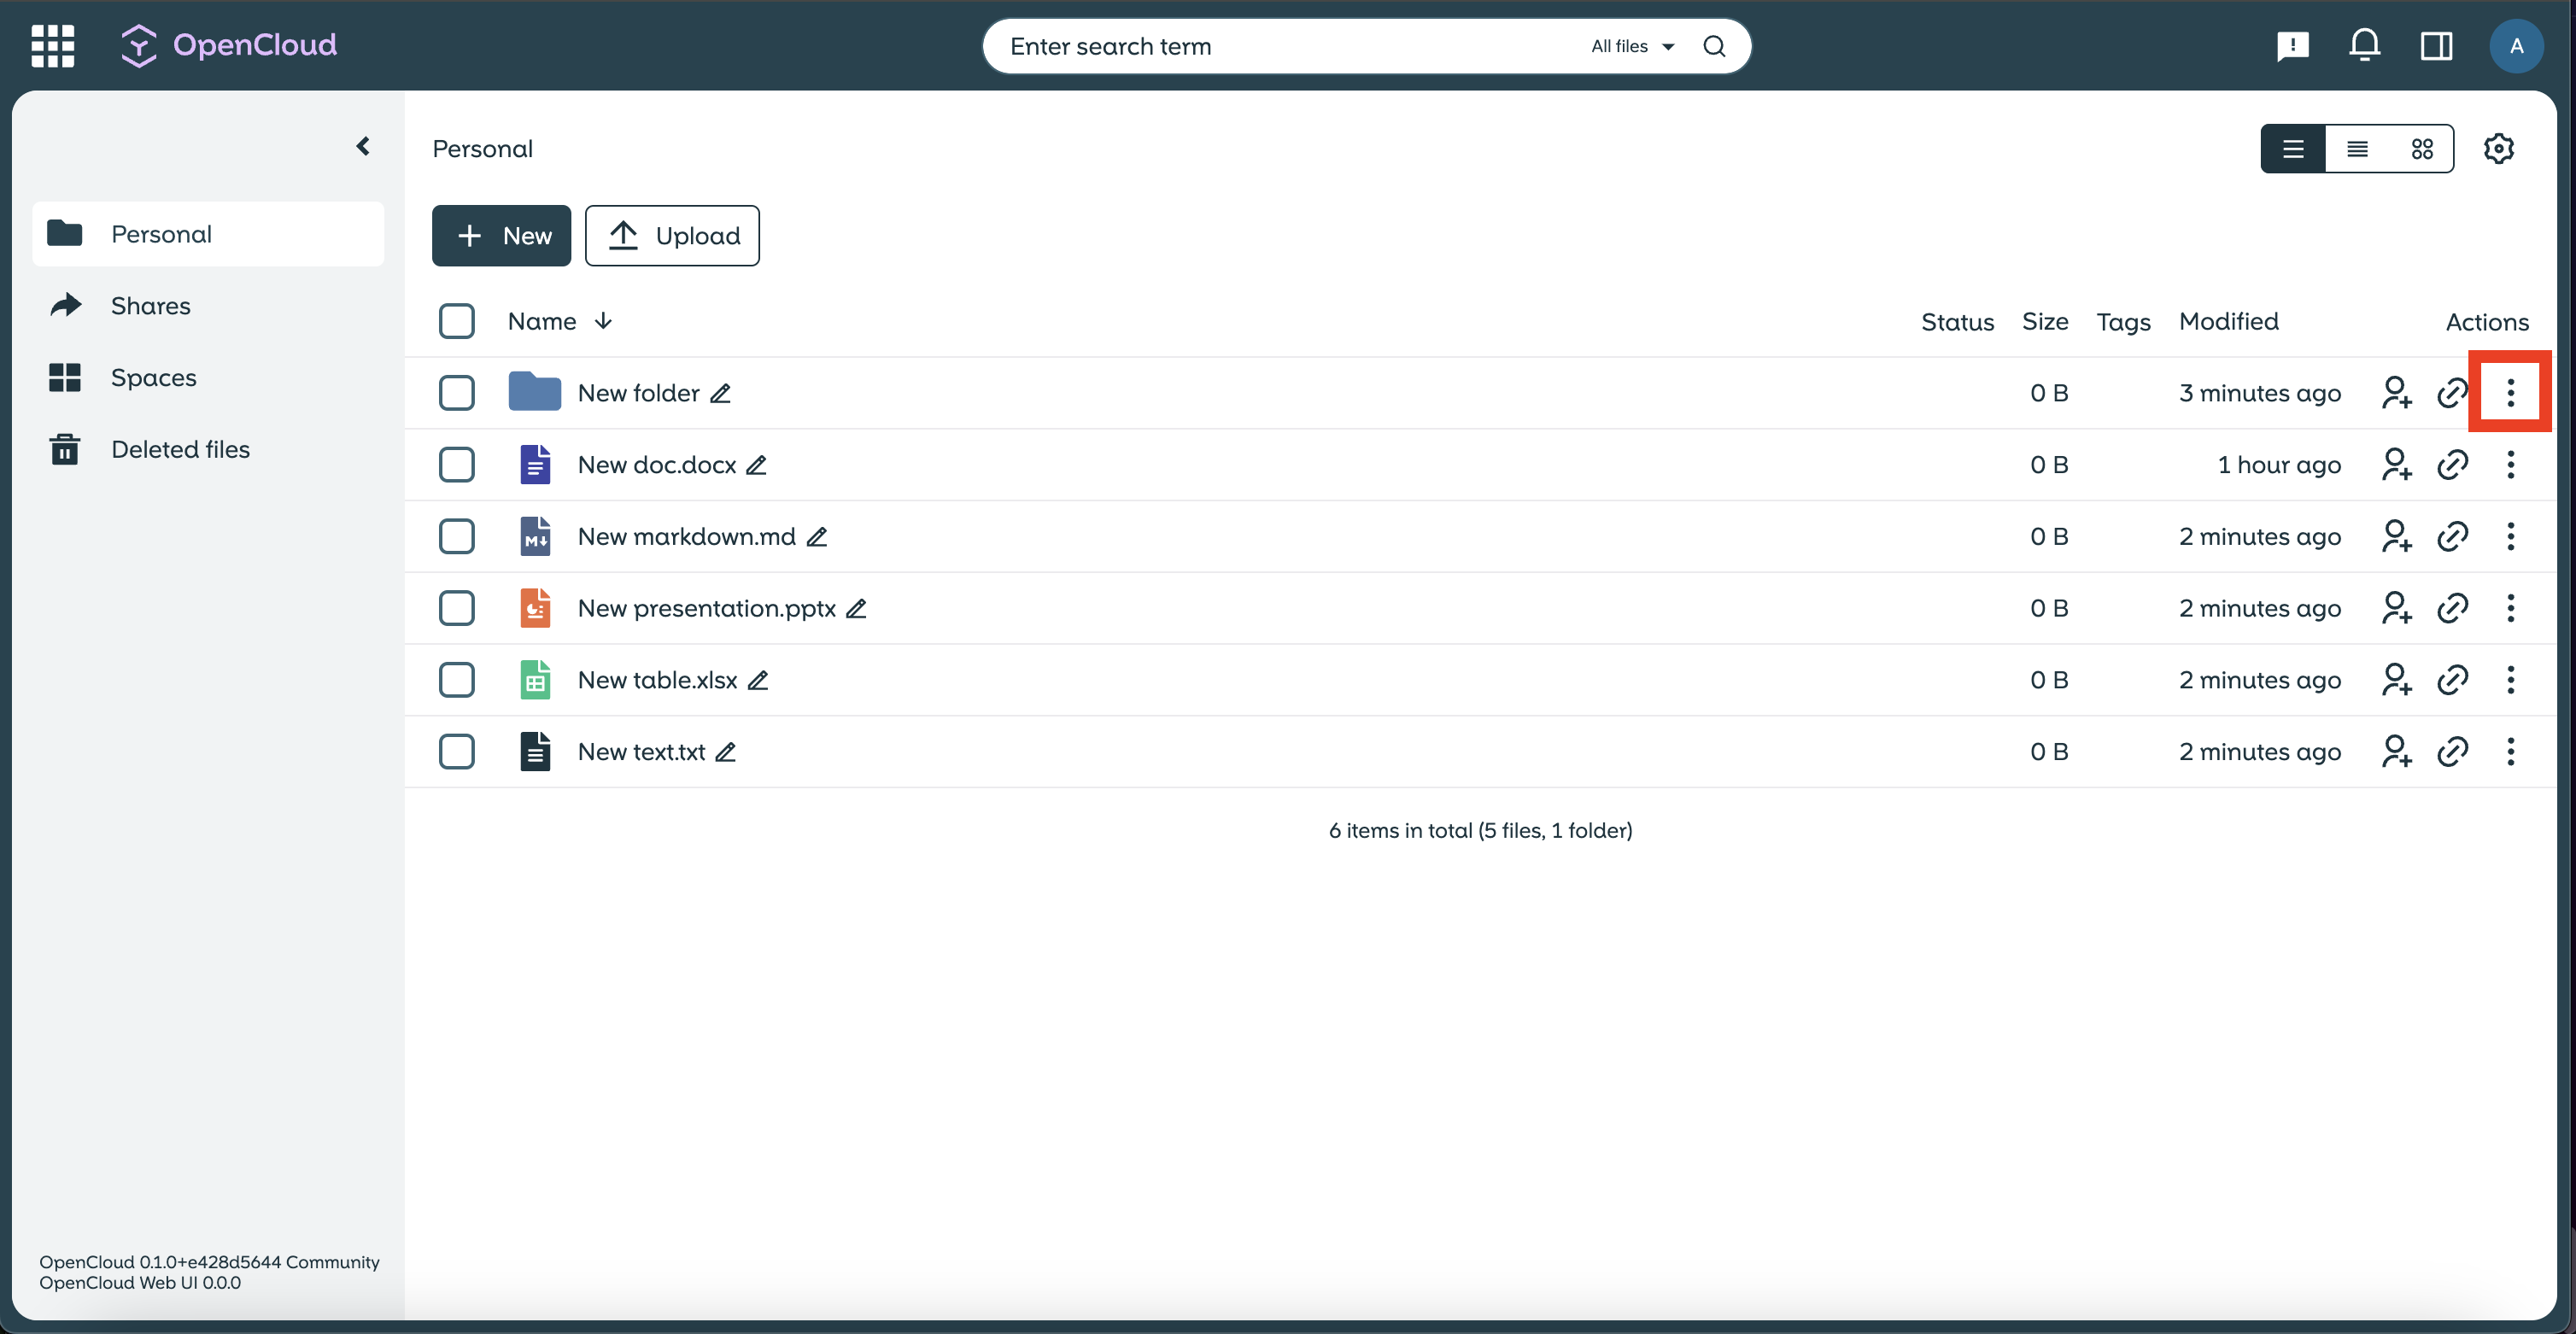
Click on the “three dot menu” next to the file or folder name you want to share.
-
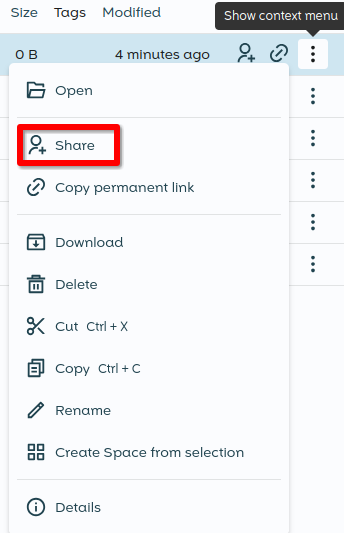
Select “Share” from the drop-down menu.
-
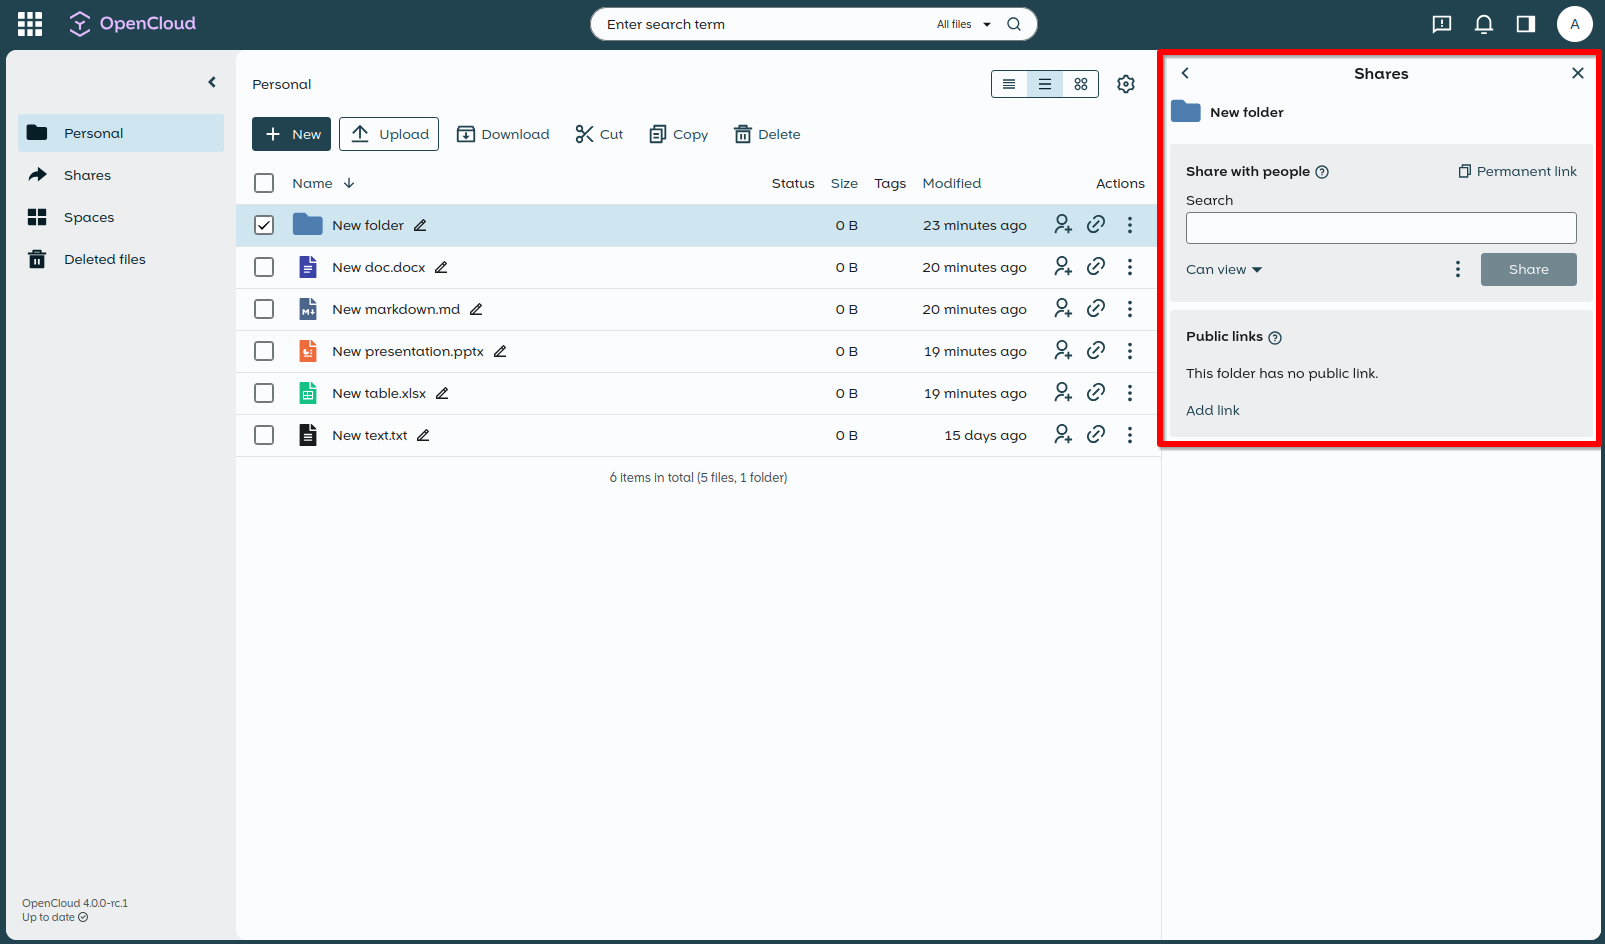
A sidebar window will open on the right side of the screen.
-
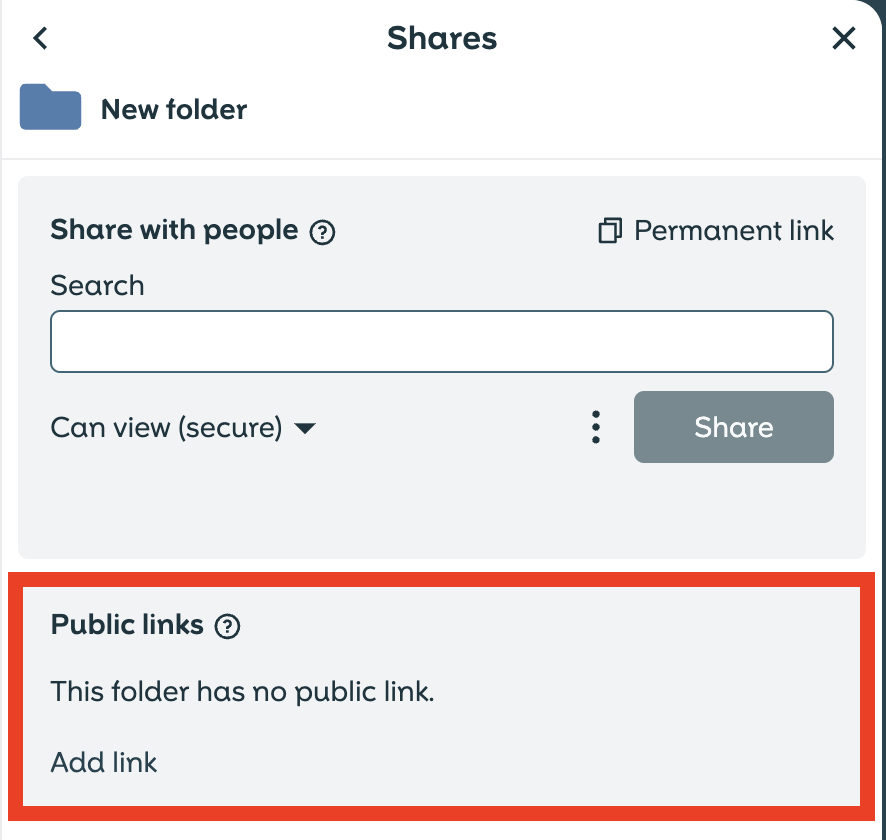
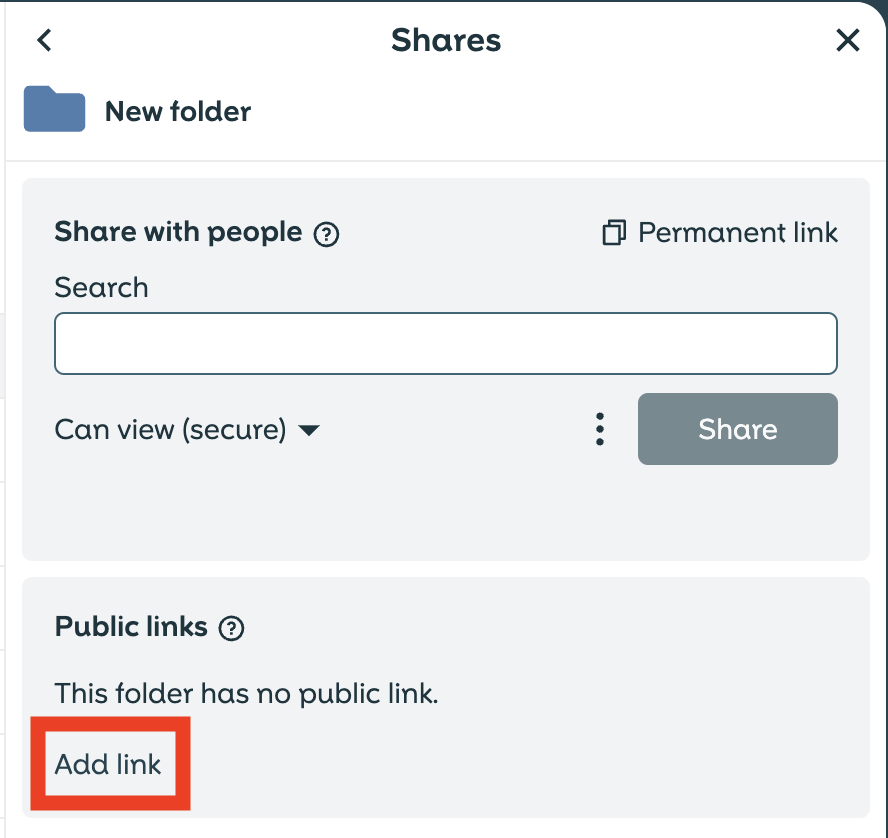
Scroll down in the sidebar window and click on “Add link”.
-
A pop-up window will open where you can configure the following options:
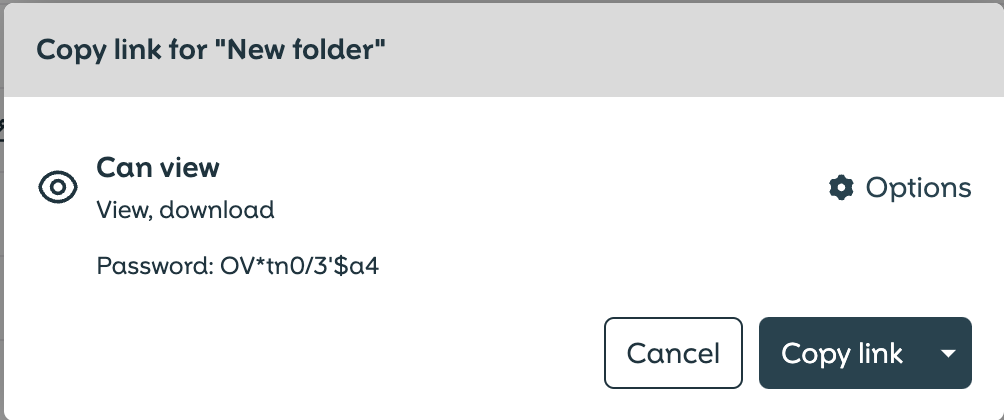
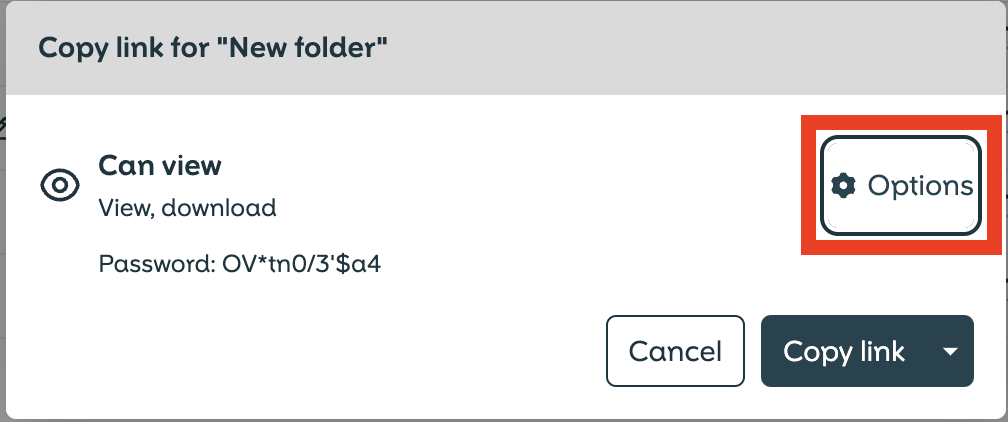
Options in the pop-up window
-
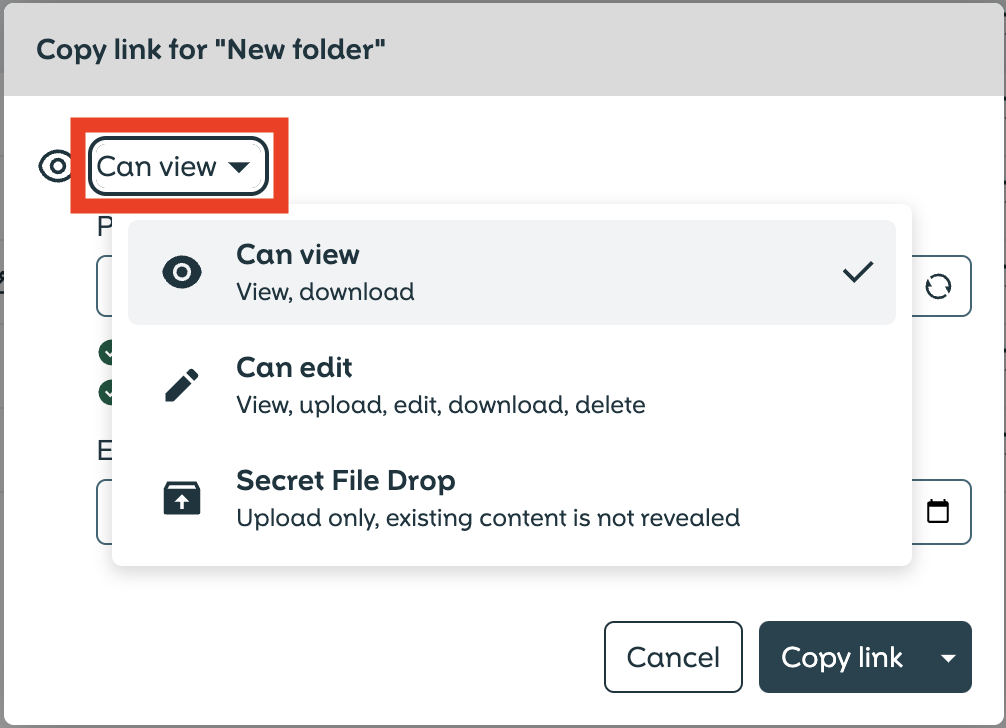
Select the desired access rights for the recipients:
-
“Can view": The link recipient can view and download the file, but cannot edit or upload files.
-
“Can edit": The link recipient can view, download, edit and delete the file, as well as upload files to the folder.
-
“File Drop (secret)": The link recipient can only upload files, but cannot view or edit the content.
-
-
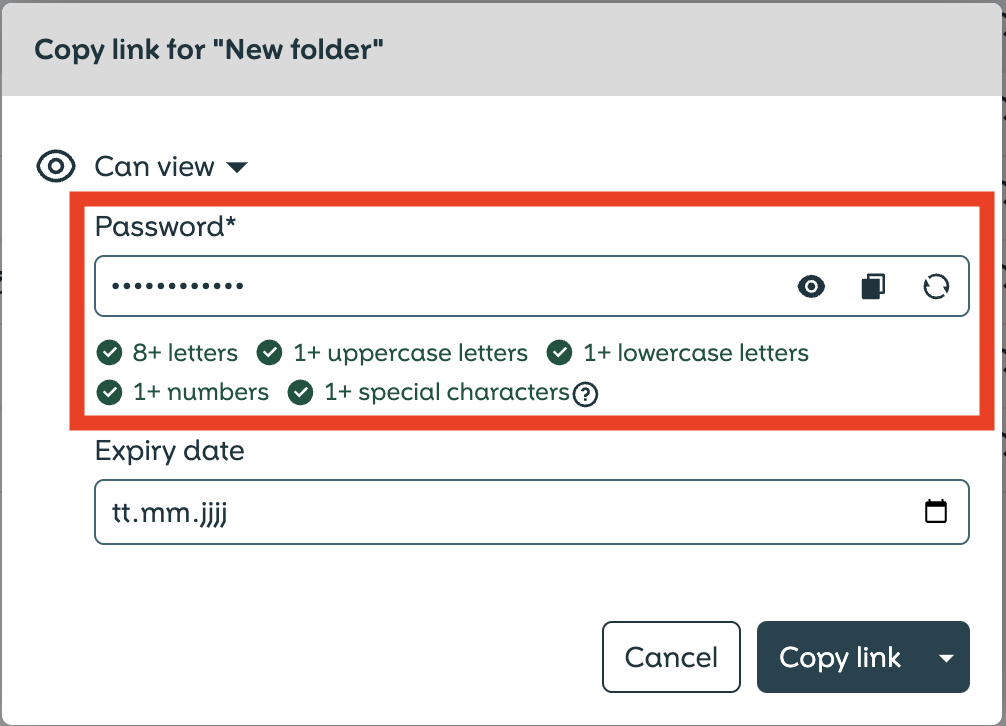
Activate the password by entering it in the input field under “Password”.
-
The password requirements appear below the input field.
-
Here are three icons:
- One icon displays the password unencrypted to verify your entry.
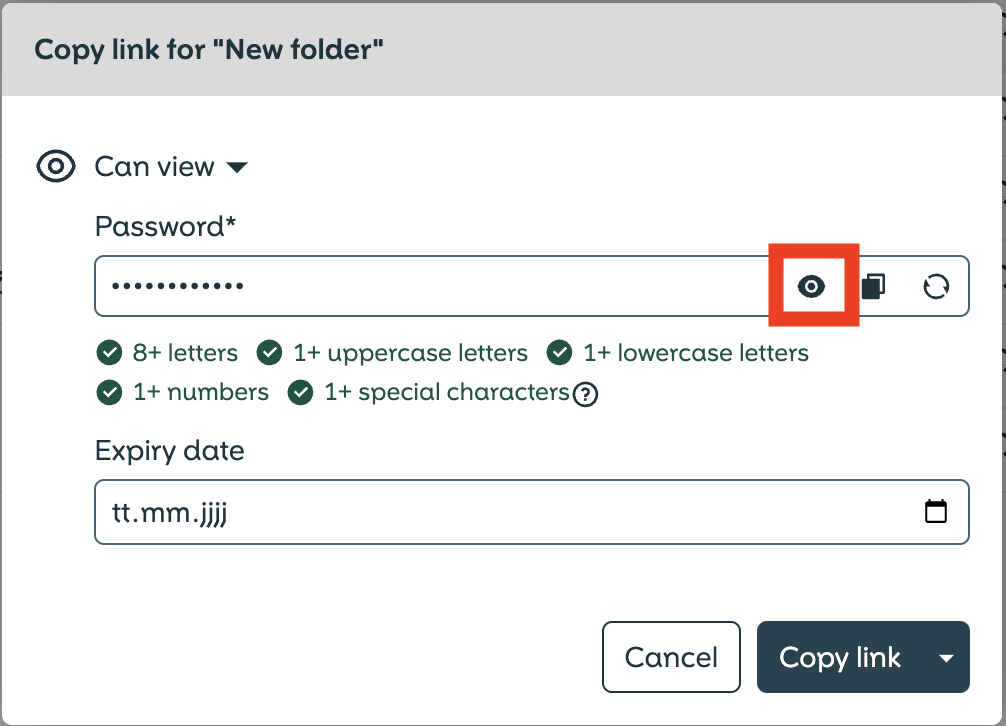
- The next icon copies the password to the clipboard.
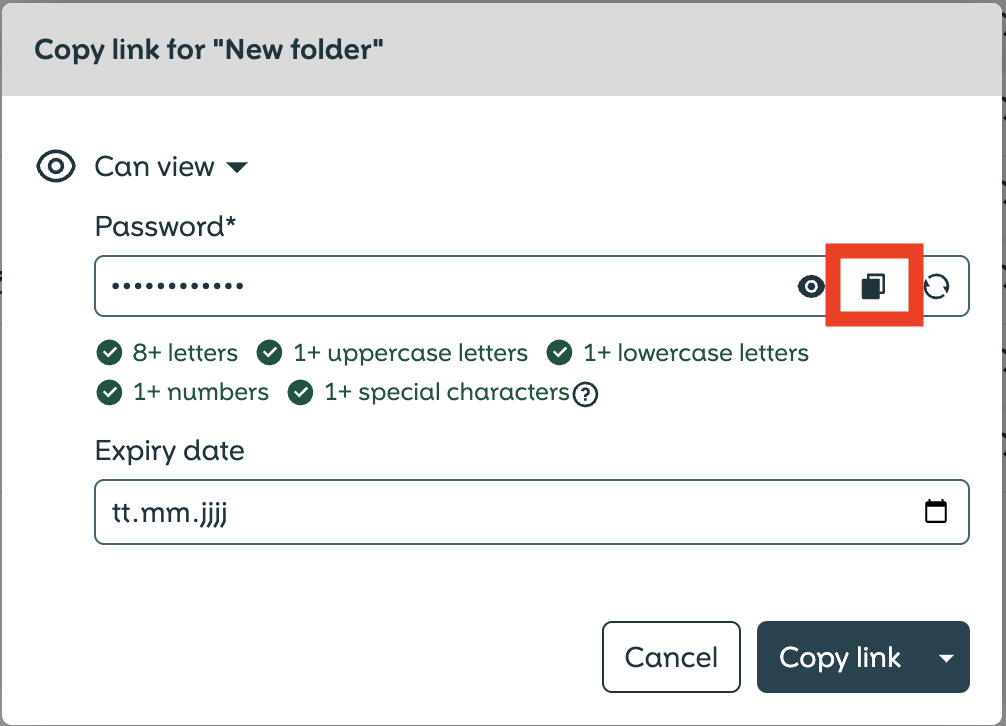
- The last icon generates a random password automatically.
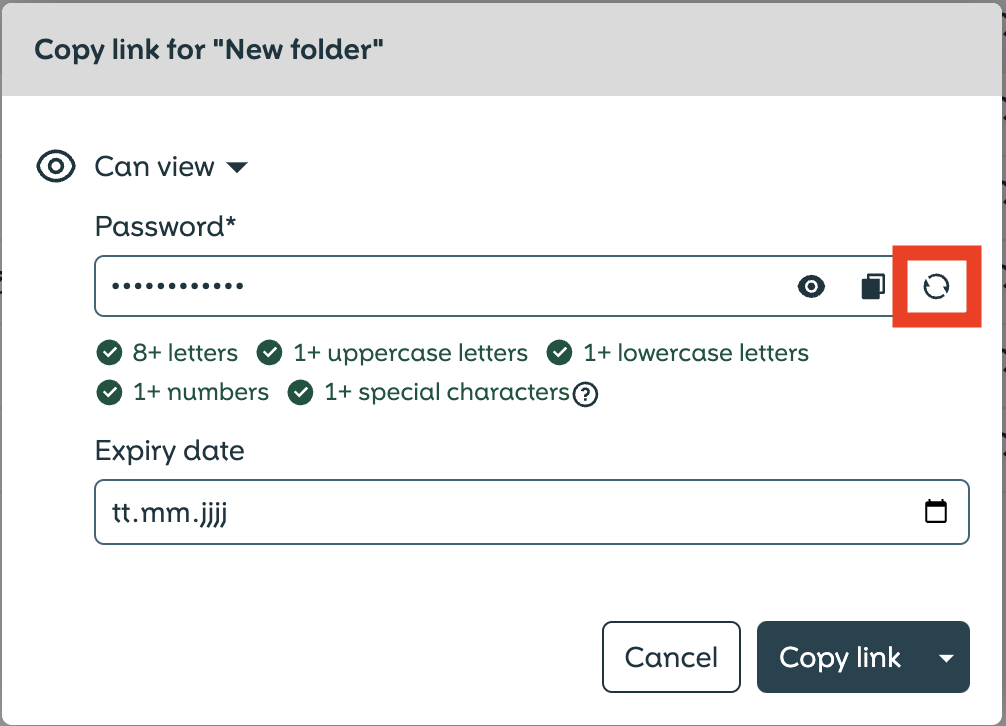
- One icon displays the password unencrypted to verify your entry.
-
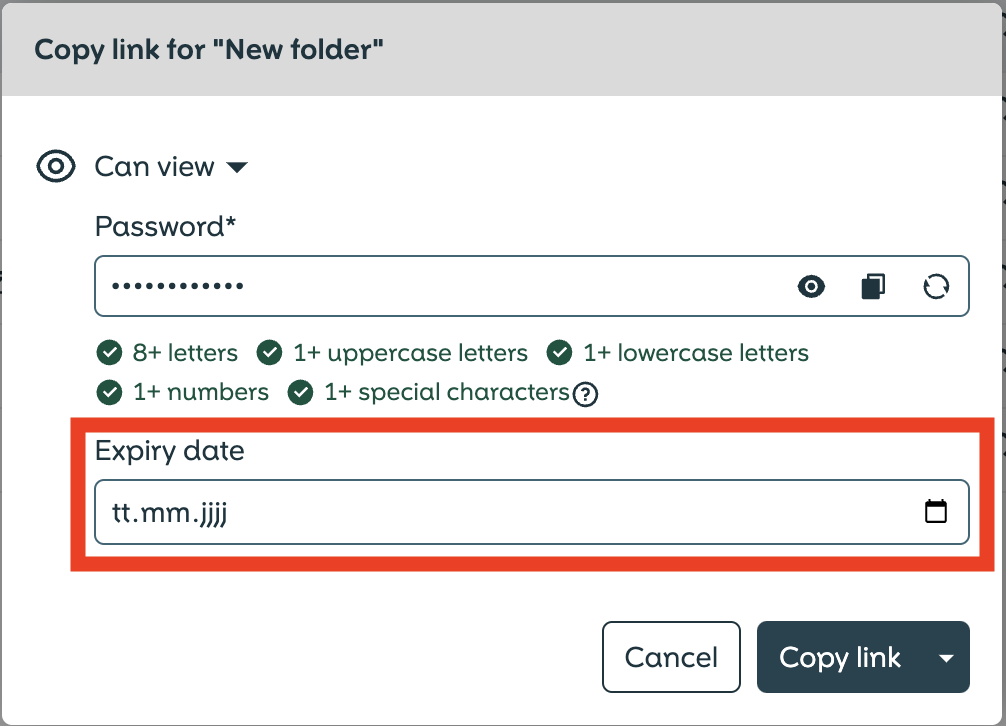
Enter a date under “Expiry date” to set a time limit for the link. Once the date has expired, the link is no longer accessible.
-
If you do not enter a date, the link will not expire.
Create link
- Once all options have been set, click on “Copy link” to generate the public link.
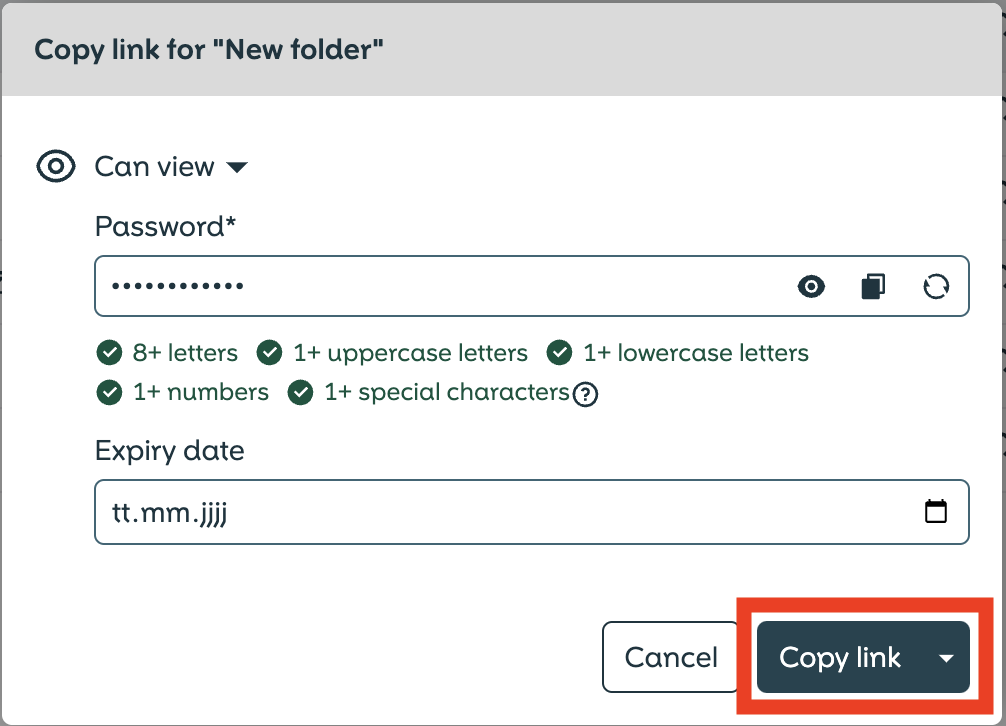
- The link is now created and can be shared with the recipients.
Now you know how you can share files and folders securely and individually with external users.