Disable and Enable a Space in OpenCloud
You can disable and re-enable a Space in a few different ways. Only a Space Admin or the Administrator can do this.
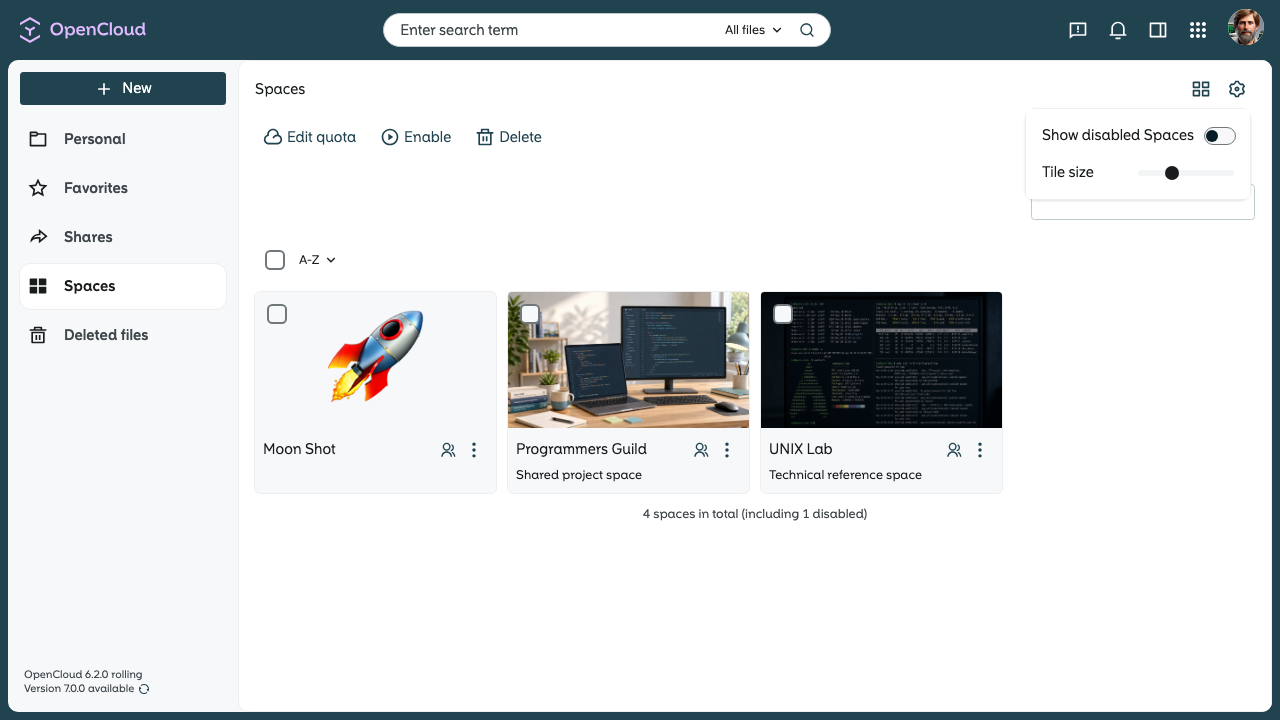
Disable Space
-
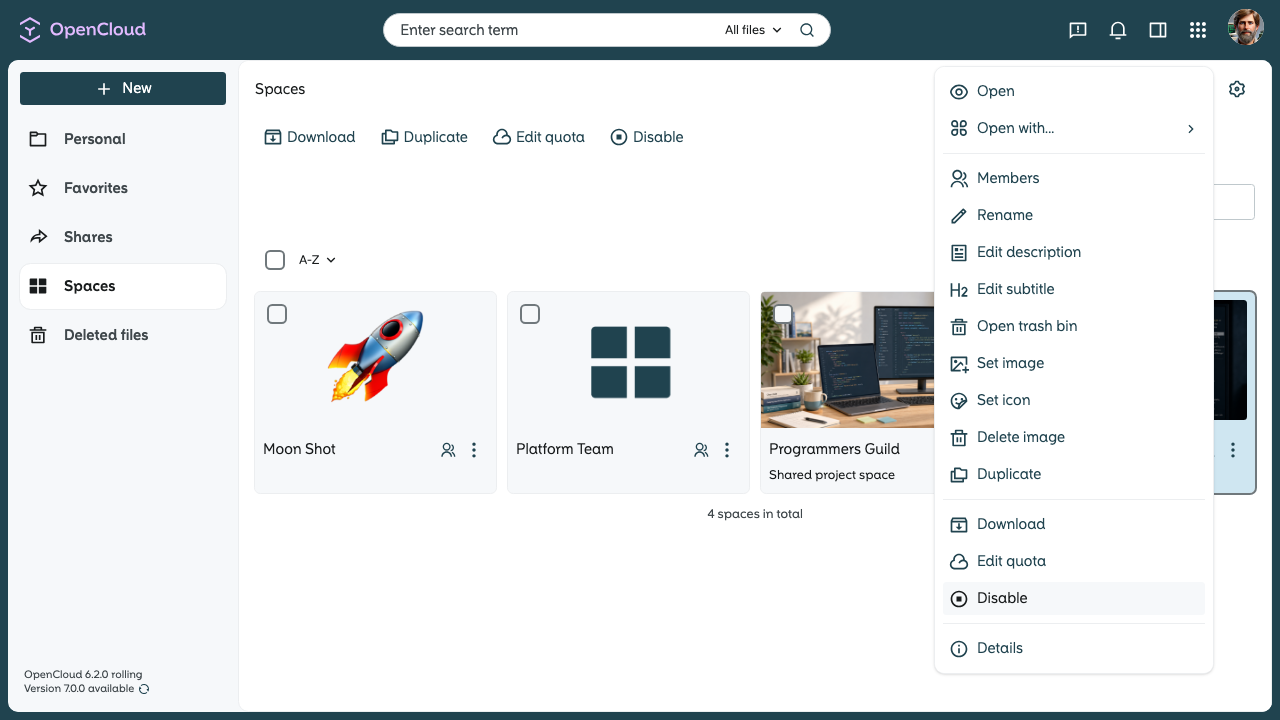
Select the desired Space.
-
Click Disable in the top action bar or open the context menu.
-
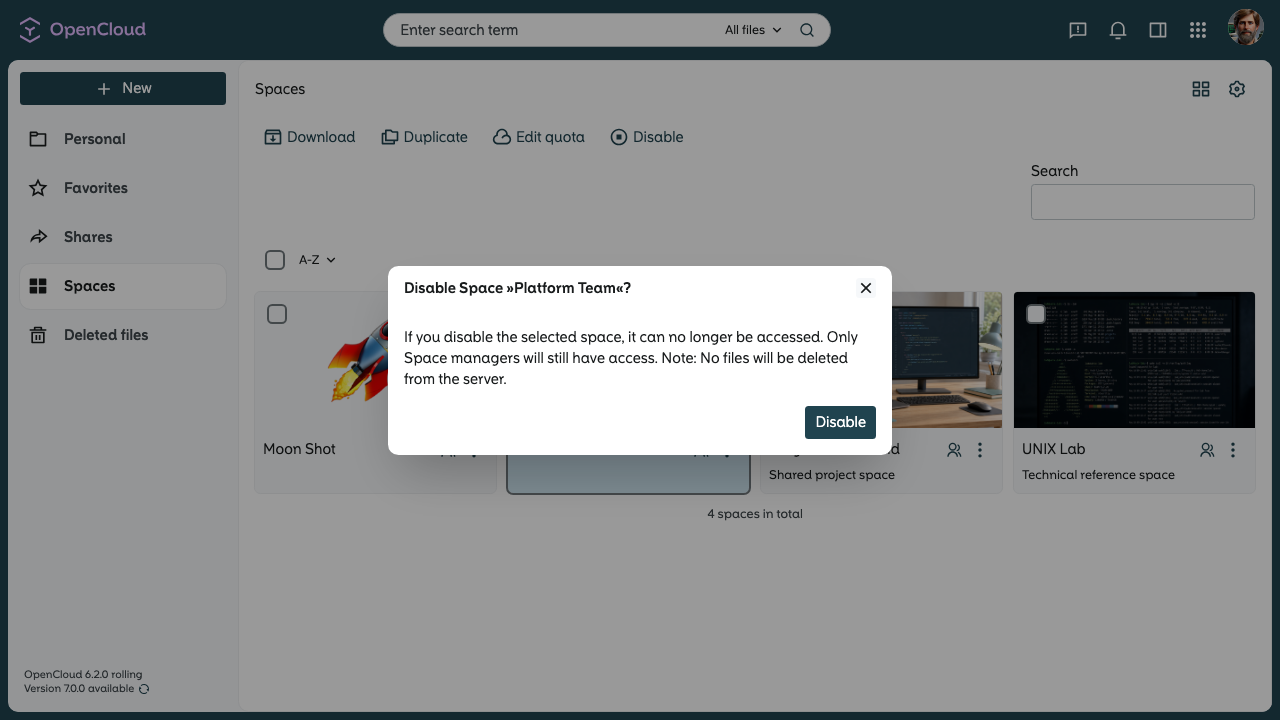
Confirm the deactivation.
-
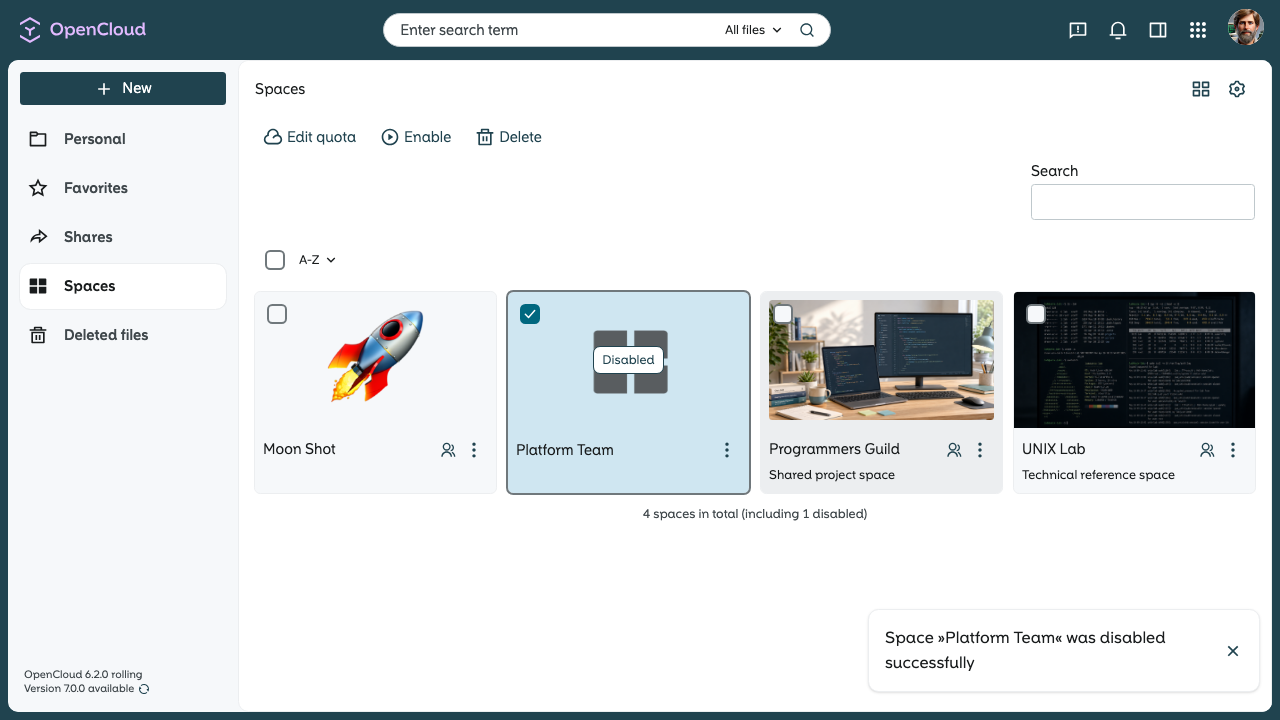
The Space is now disabled.
note
No data will be deleted. Only the Space Admin or the Administrator can enable the Space again.
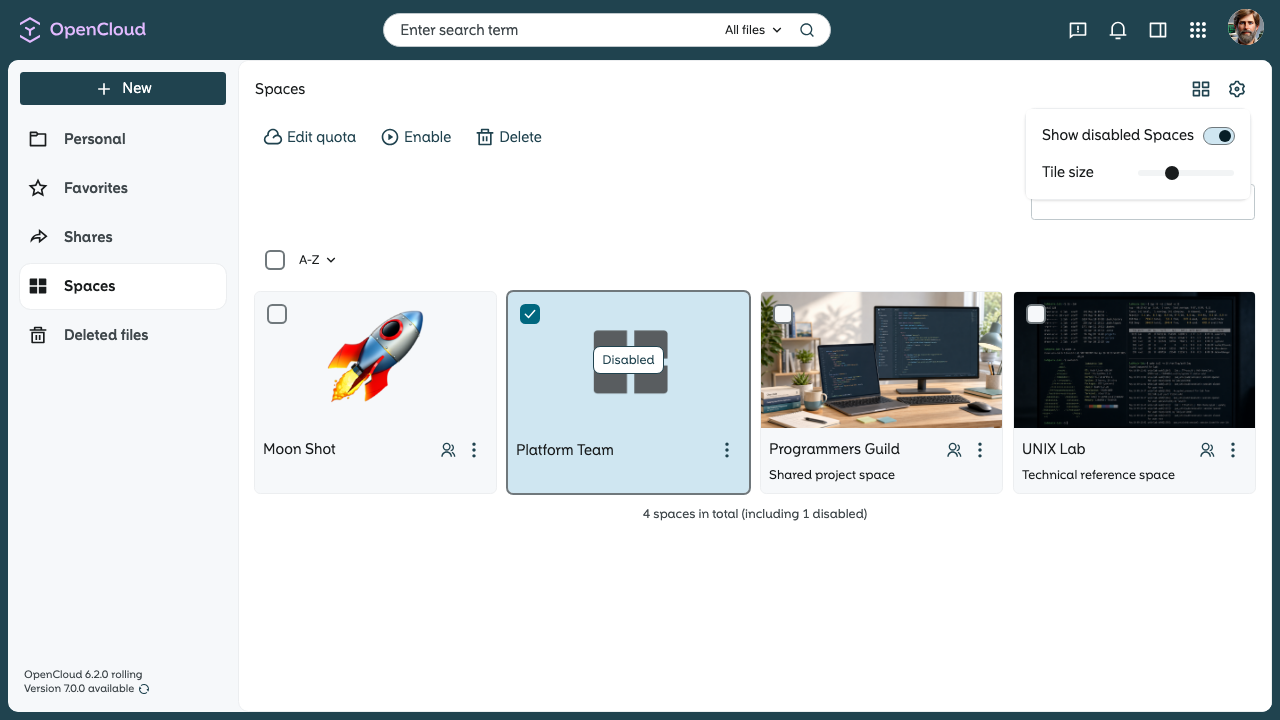
Enable Space
-
After the Space has been disabled, the Enable option replaces Disable.
-
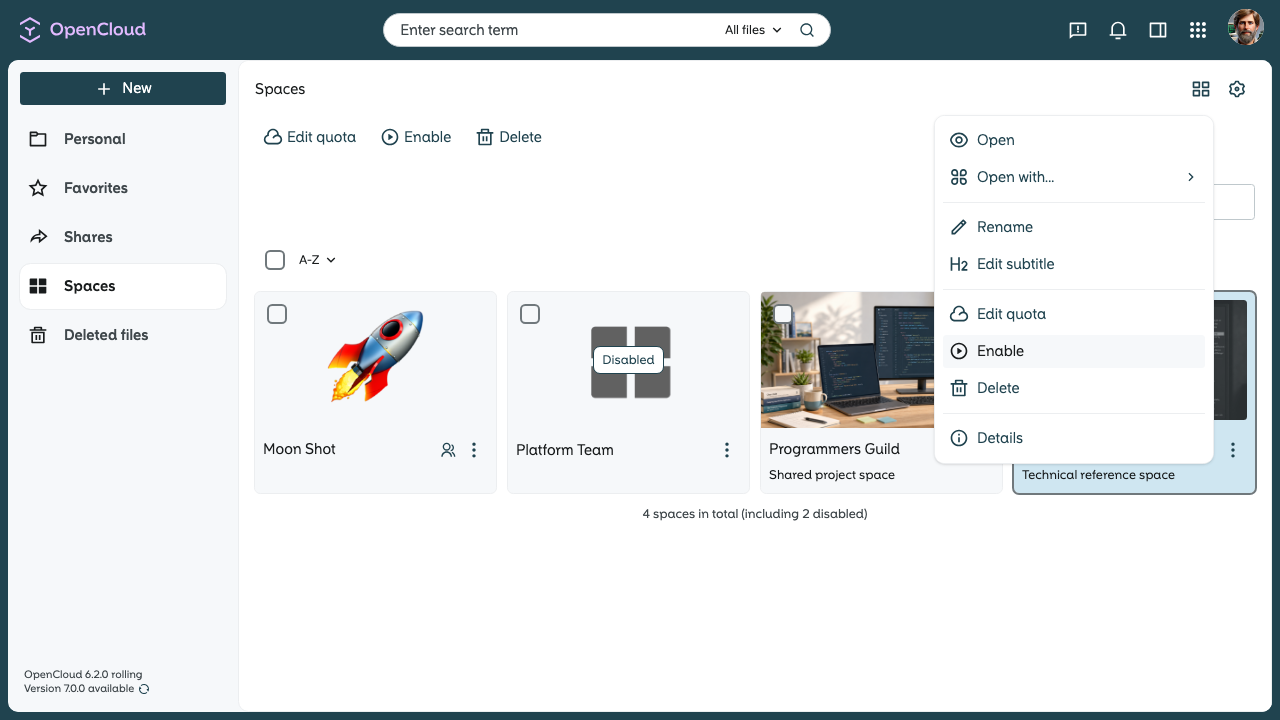
Click it to enable the Space again.
-
If the Space is not visible, the Show disabled Spaces filter may be enabled.
-
Enable the filter and the Space will appear so it can be enabled.
Enable by Administrator
An Administrator can also enable or disable a Space from Admin Settings.
- Open the Spaces section in Admin Settings.
- Find the Space that should be enabled or disabled.
- Open the three-dot menu and select Enable or Disable.
- Confirm the action.
The Space will then appear in the corresponding state in the Space overview.